This section will help you to arrange home page and other pages of your site. This will also guide to you as how to setup WordPress Menus, Create a Slider/Banner, Create Home Page, Use of Page Templates and insertion of shortcode in pages.
Product-Industry-Pro
Introduction
Thank you for using our product-industry WordPress Theme. We are very glad that you have chosen product-industry WordPress theme for your website.
product-industry theme is a clean, super flexible and fully responsive WordPress Theme.
This document written very carefully by keeping mind set that it should be easy understand for Beginner to Advance user or developers. We have divided this document in 3 main section.
1) Getting Started : This section will very help full for Quick start and understand how setup theme
2) Detailed Document : This section explains every thing about theme with every settings.
3) Other : This section provides information about miscellaneous item like theme features etc.
If you have any query that is beyond the scope of document, please feel free to contact us at support@luzuk.com

- Email: support@luzuk.com
We offer theme customization. Get in touch for a quote.
Quick Search Tip: Access your browser search with keyboard shortcut "Crtl+F" (Windows) or "CD+F" (OSX) for instant results.
Installation
Step One
To install this theme you must have a working version of WordPress already installed. For information regarding to install the WordPress platform, please see the WordPress Codex https://codex.wordpress.org/Installing_WordPress
1. Installation Via WordPress Admin area
- Step 1. Log into your WordPress admin area.
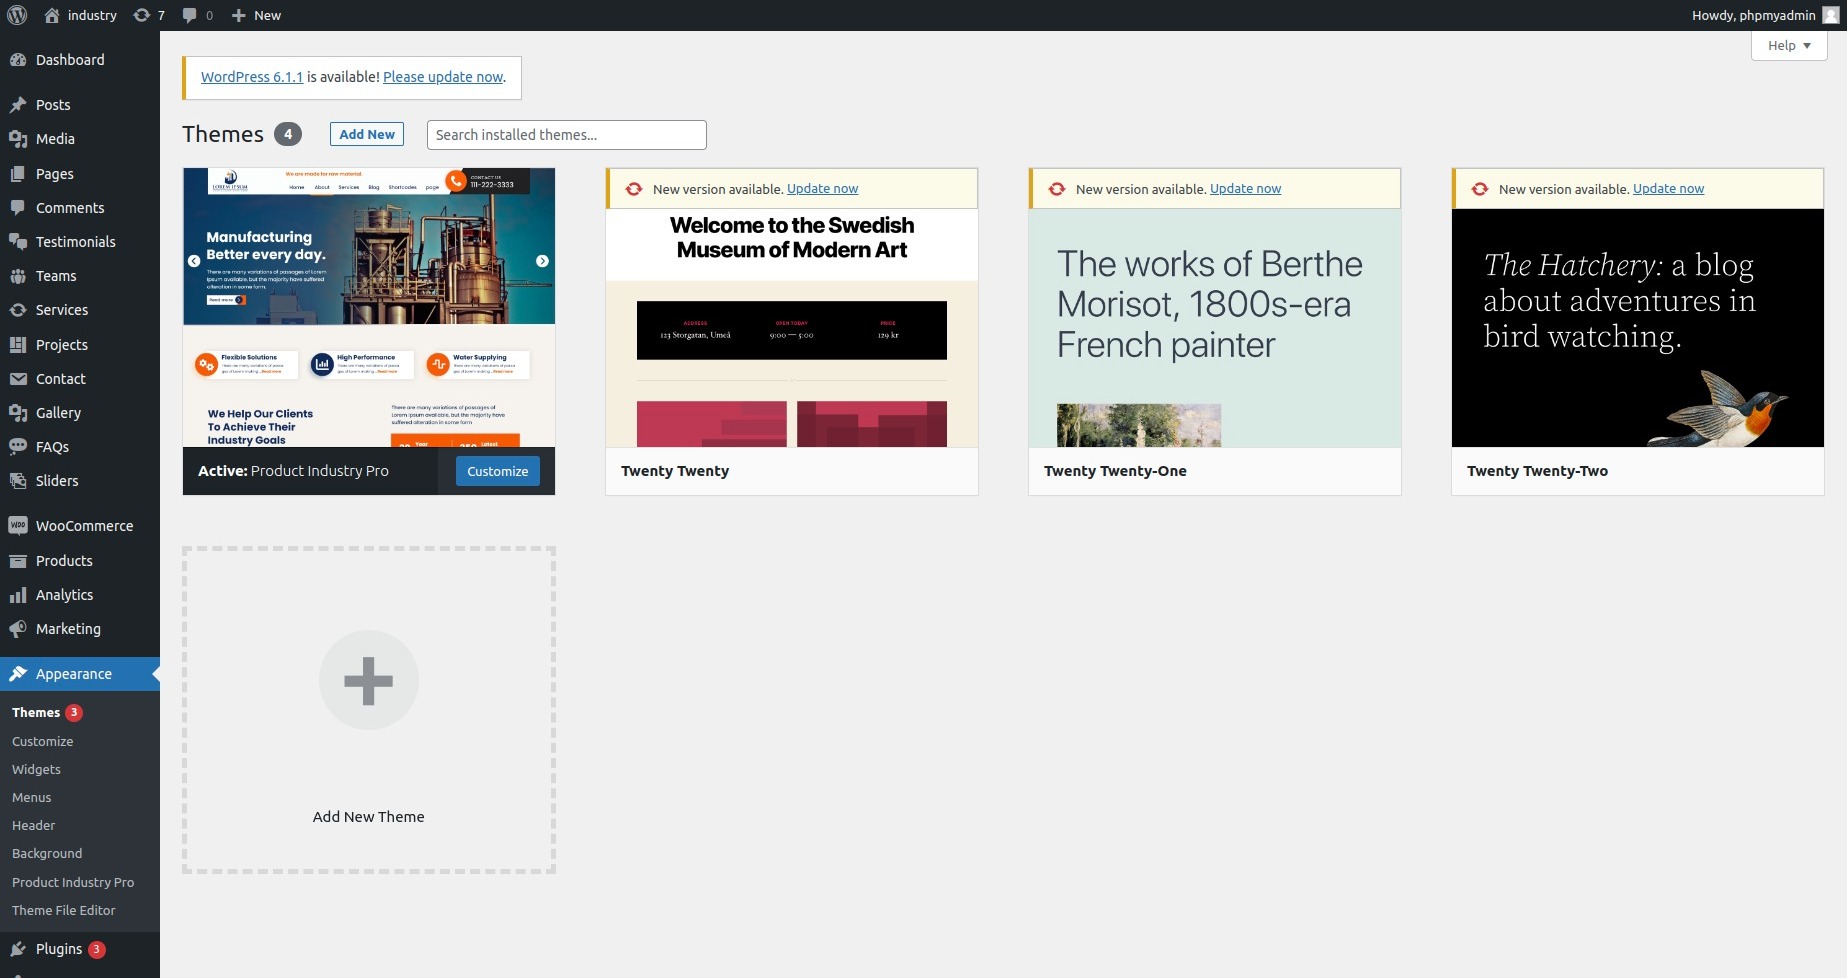
- Step 2. Go to Dashboard >> Appearance >> Themes.
- Step 3. Click on Add New Theme button at top.
- Step 4. Now, Hit Upload Theme button at top and upload.
- Step 5. Click on Activate once upload has finished.
Step Two
2. Installation Using FTP
- Step 1. Download product-industry.zip file from your My Account luzuk.
- Step 2. Extract Zip file.
- Step 3. Using your FTP program, upload the non-zipped theme folder into the "/wp-content/themes/" folder on your server.
- Step 4. Go to Dashboard » Appearance » Themes and find product-industry theme from list
- Step 5. Click on Activate to active product-industry theme.
Detail Document
Setting Up Home Page
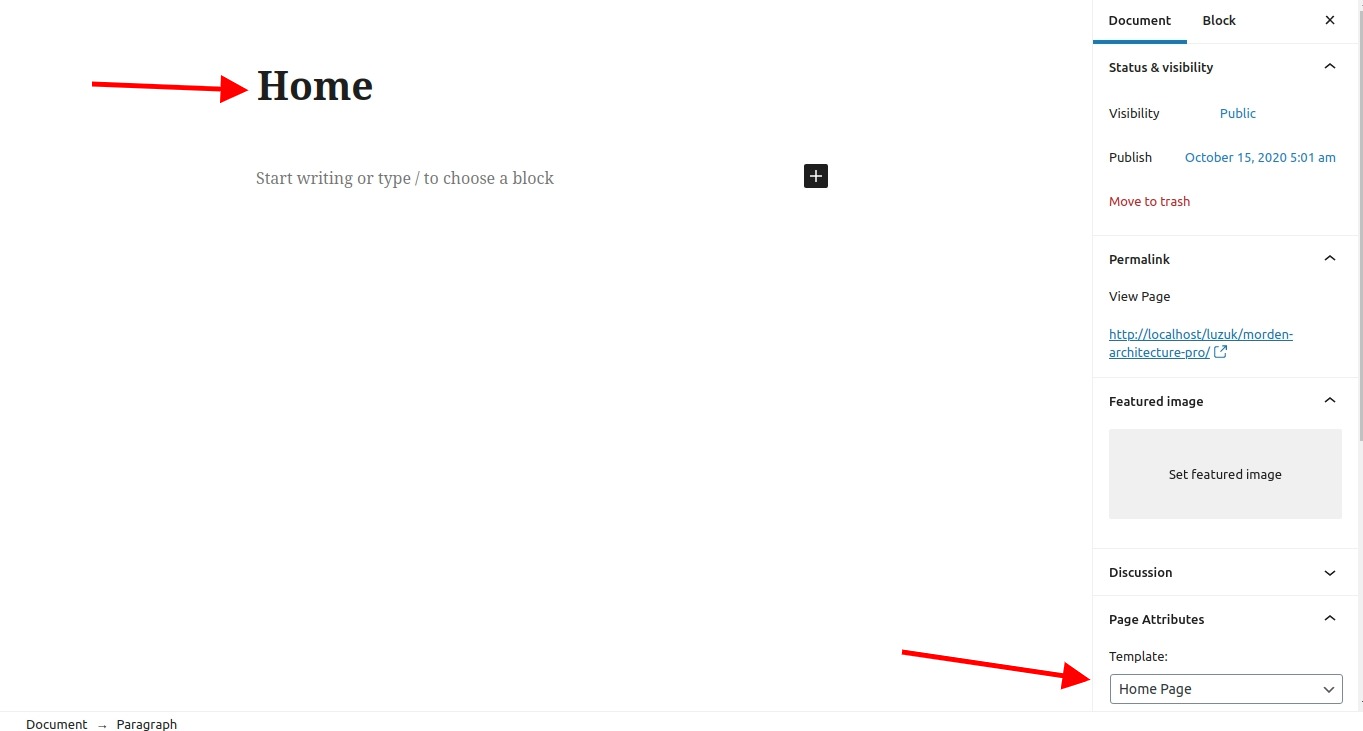
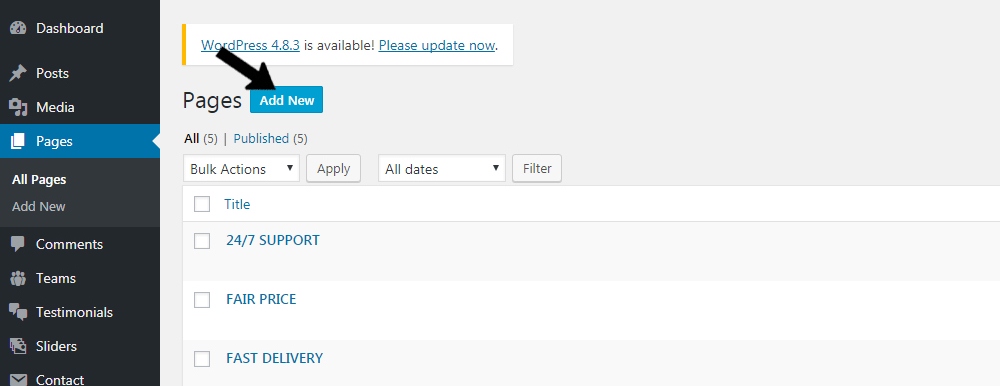
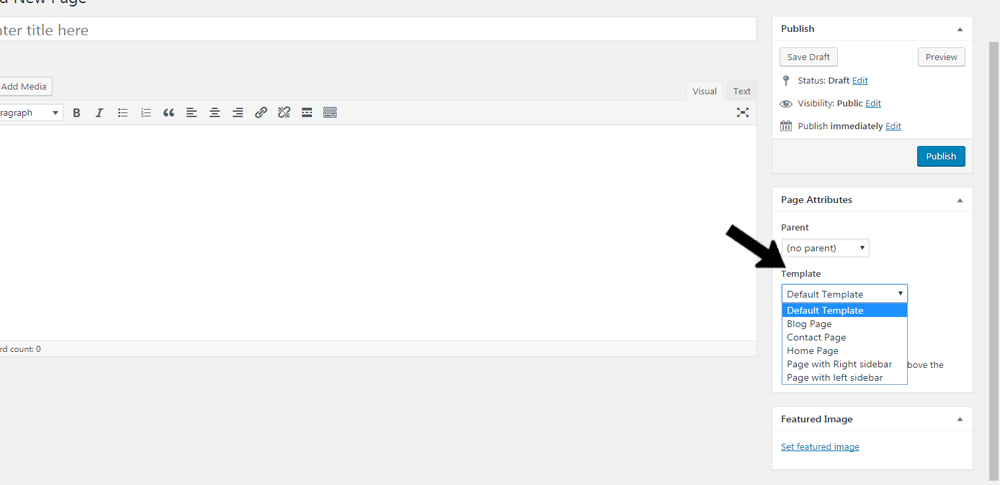
- Step 1: Go to Dashboard >> Pages >> Add New, enter page name and select template as Home Page Template from Page Attribute as shown in below image
- Step 2: Publish this page
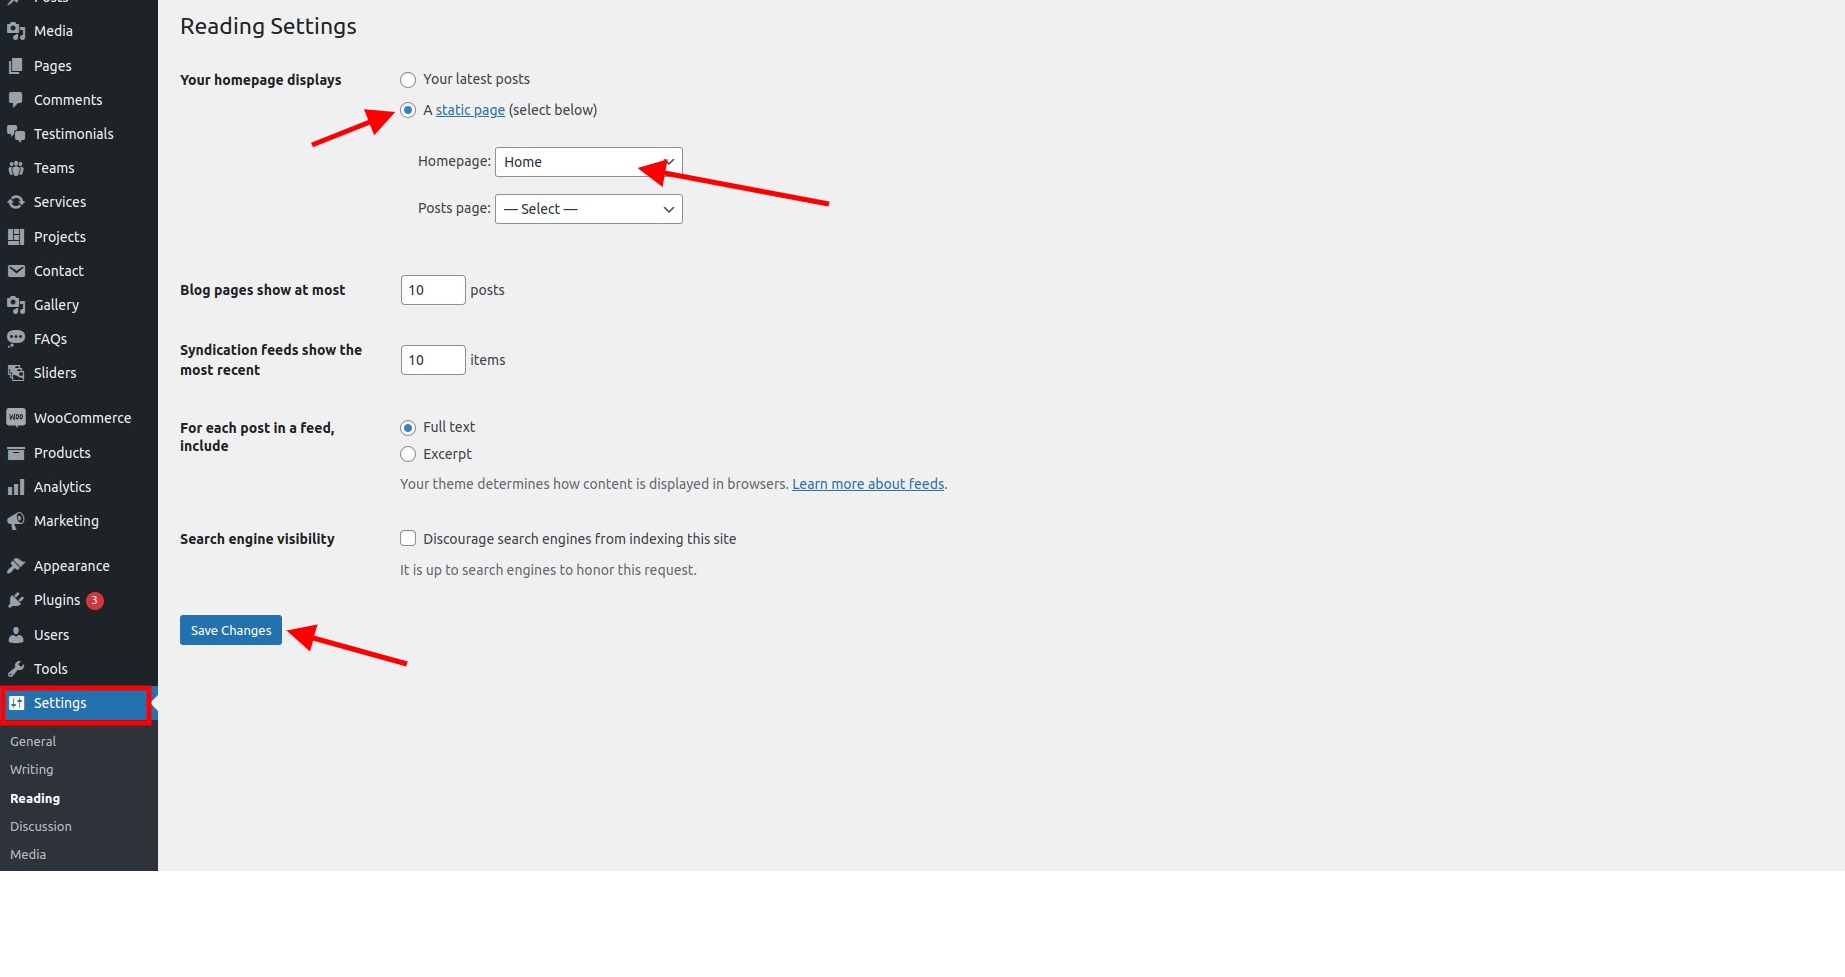
- Step 3: Go to Dashboard >> Settings >> Reading, select home page as a front page
Header Setting
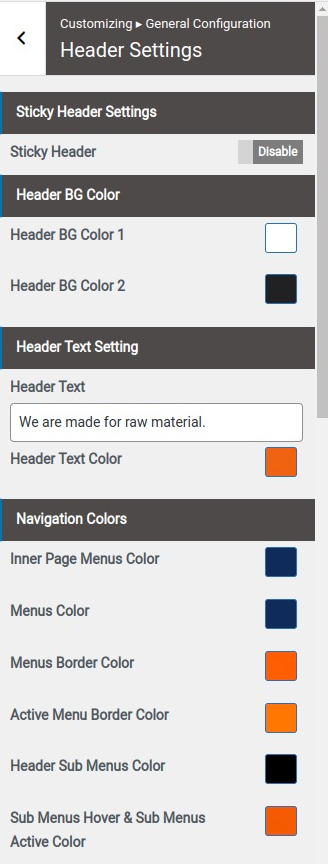
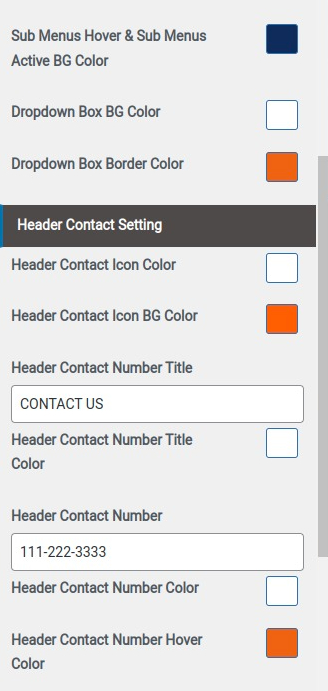
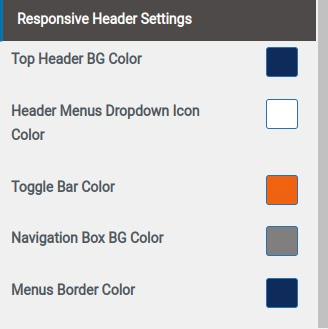
- Step 1. Go to Dashboard >> Appearance >> Customize >> General Configuration >> Header Settings
- 1. Set Sticky Header
- 2. Select Navigation colors
- 4. Select Responsive Header colors
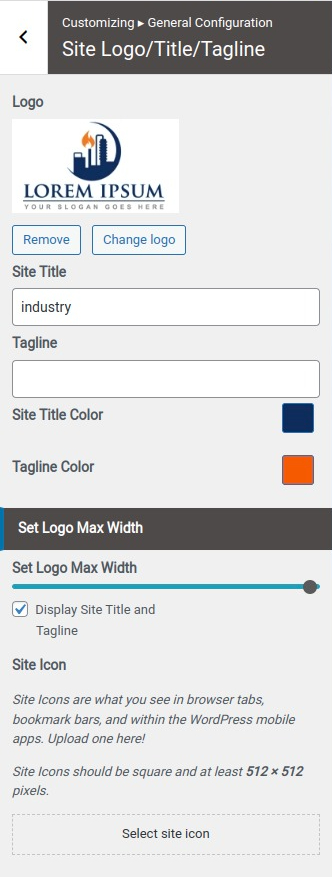
- Step 1. Go to Dashboard >> Appearance >> Customize >> General Configuration >> Site logo/title/tagline
- a. Select Logo
- b. Add Site Title
- c. Add Site Tagline
- d. Select Title And Tagline Color
- e. Set Logo Max Width
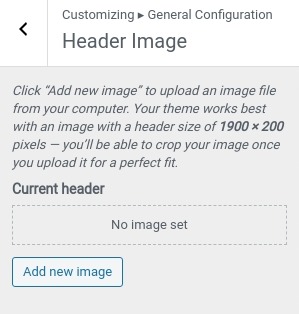
- Step 3. Go to Dashboard >> Appearance >> Customize >> General Configuration >> Header Image
- a. Select Header Image
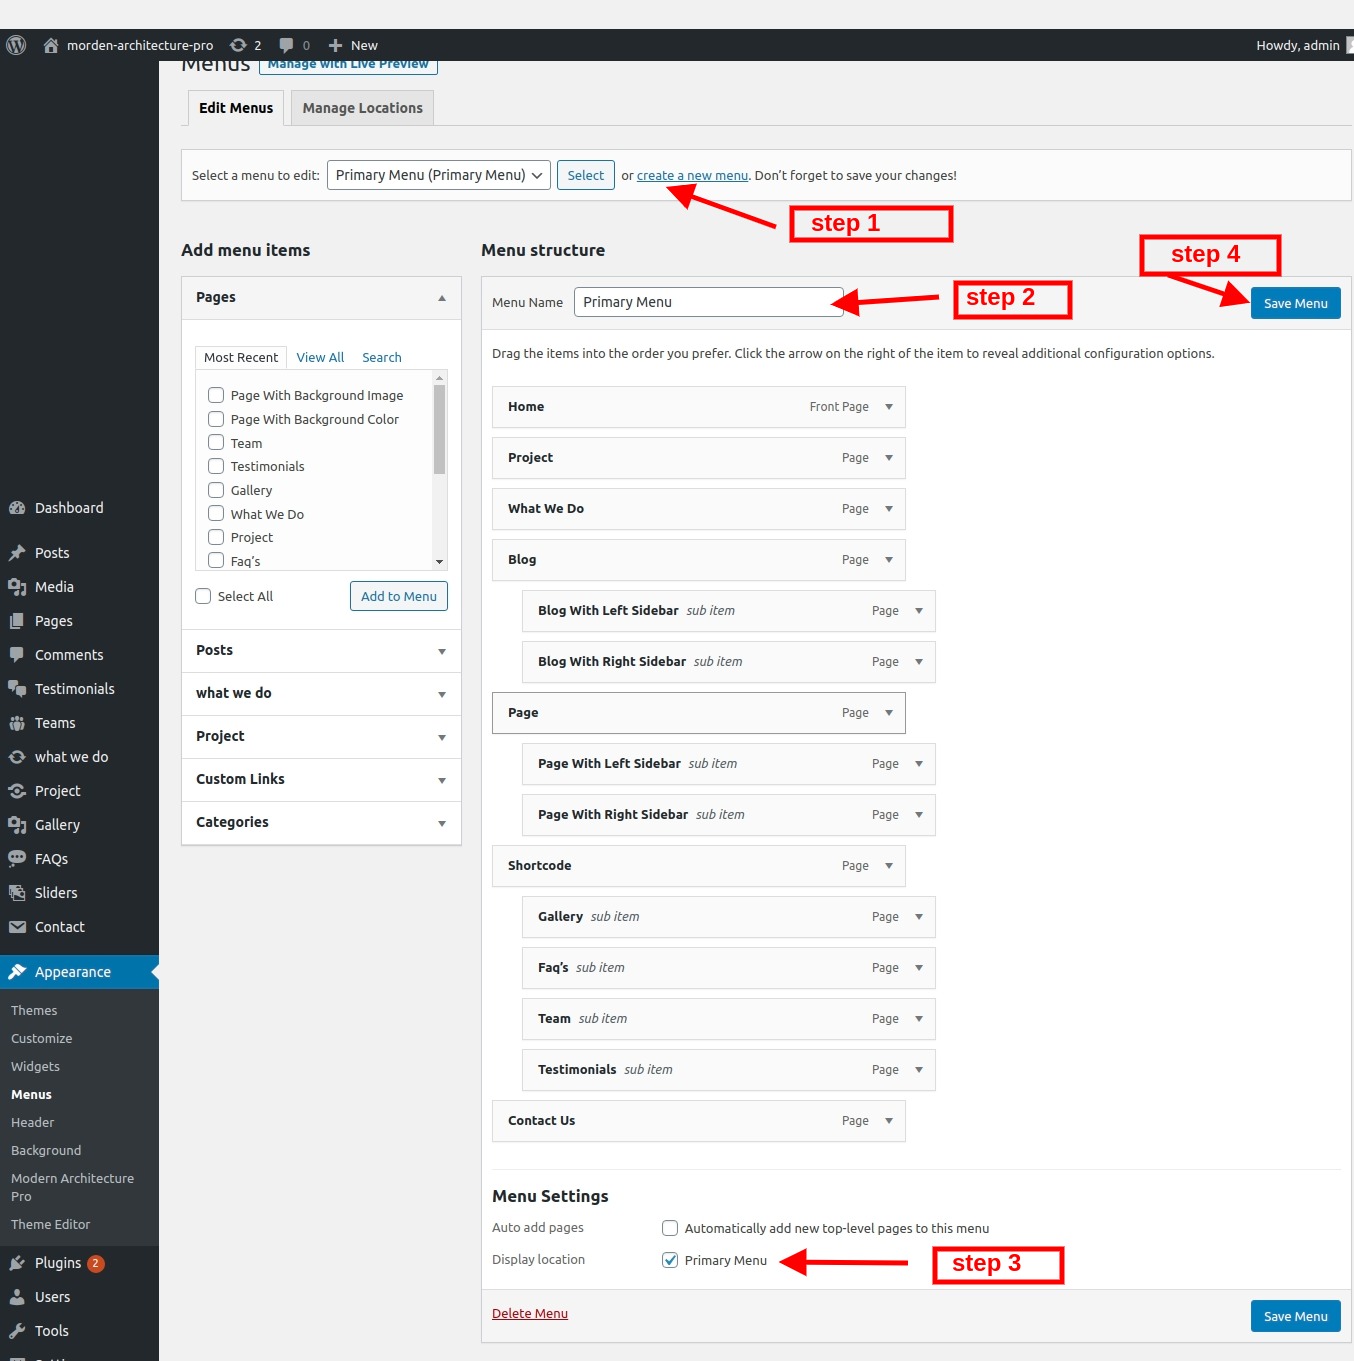
- Step 4. Go to Dashboard >> Appearance >> Menus.
- Step 5. Click on create a new menu as show in below image.
- Step 6. Enter menu name and click on Create Menu as shown in below image.

Final display of Header

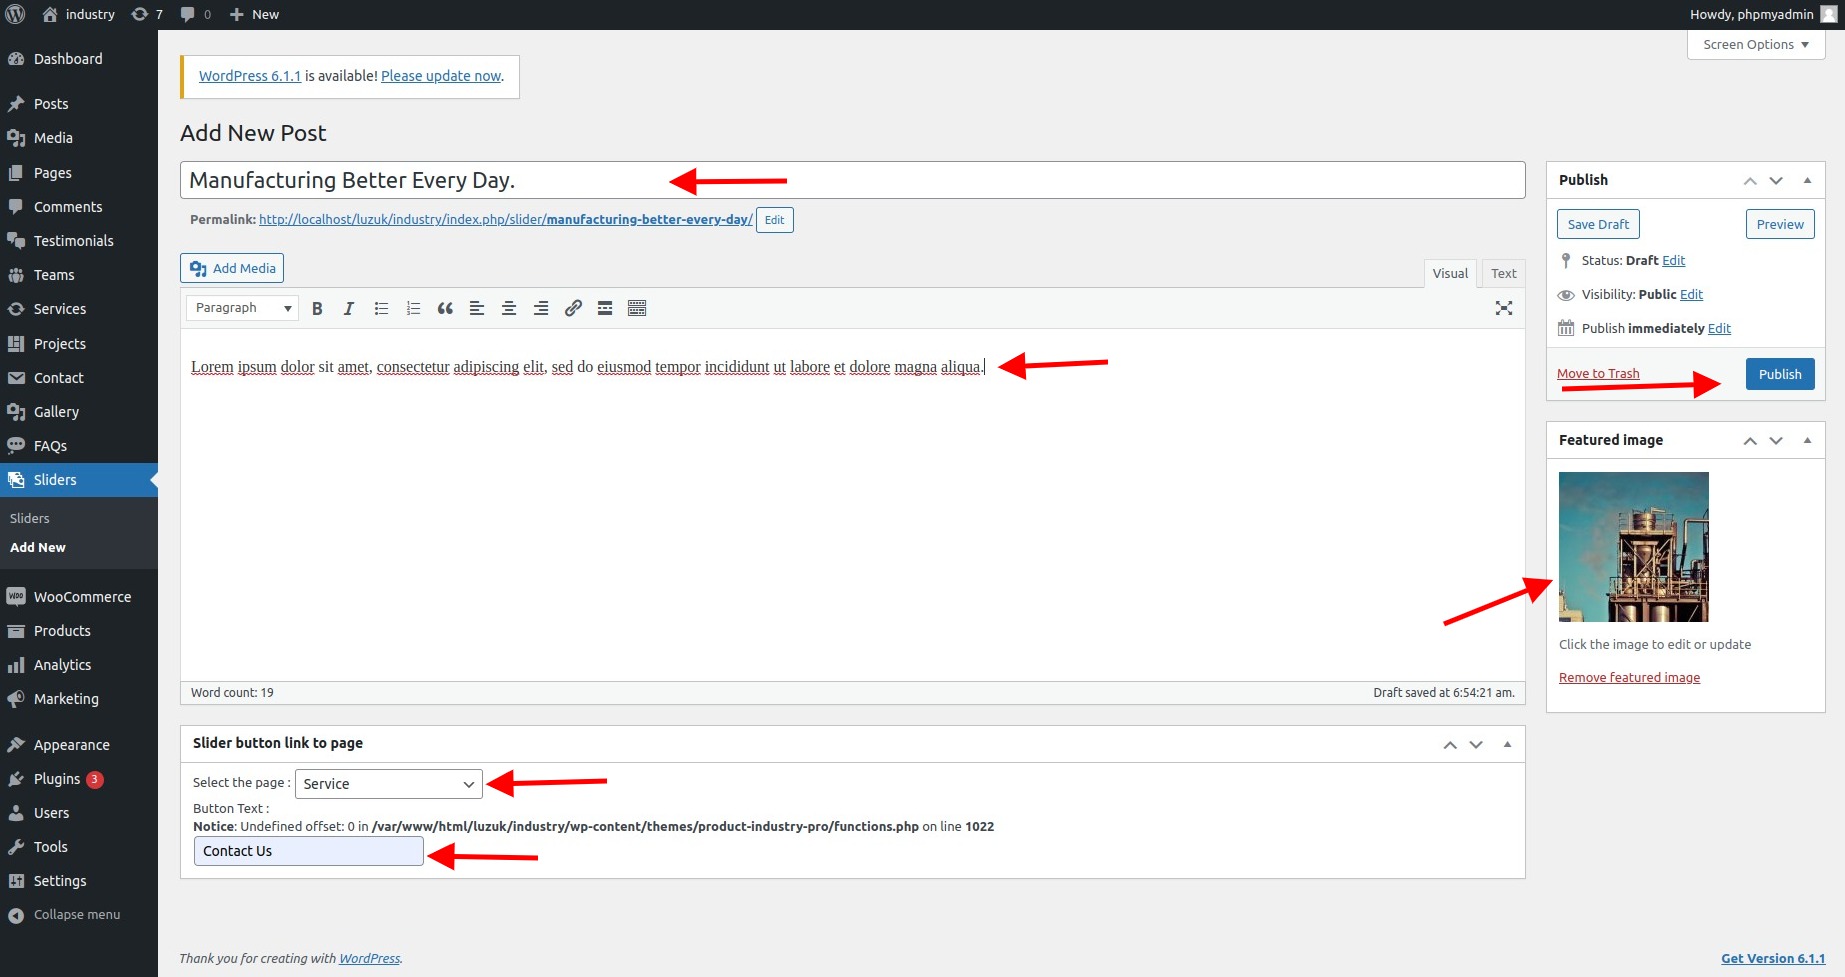
Create Slider
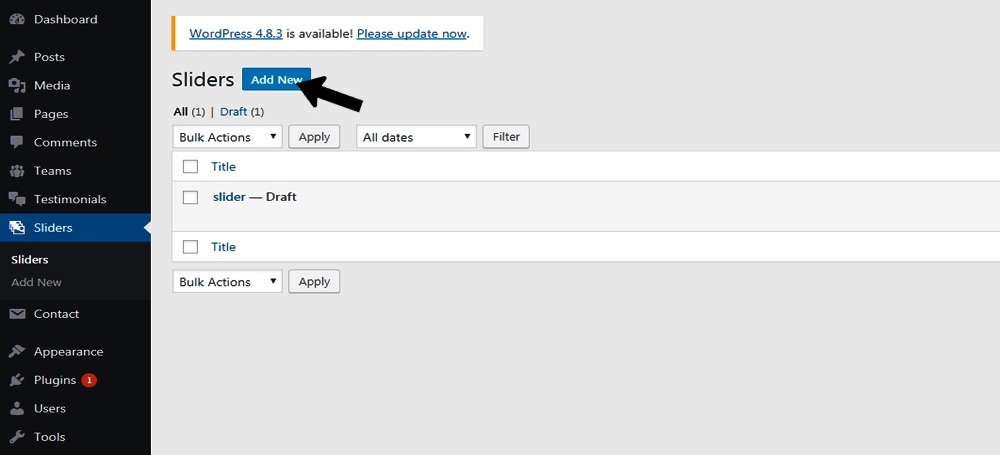
- Step 1. Go to Dashboard >> product-industry Slider
- Step 2. Click on Add New button
- Step 3. Add the slider name.
- Step 4. Select featured image as a slider.
- Step 5. Click on 'update' button at top right of page. And Enjoy the Slider.
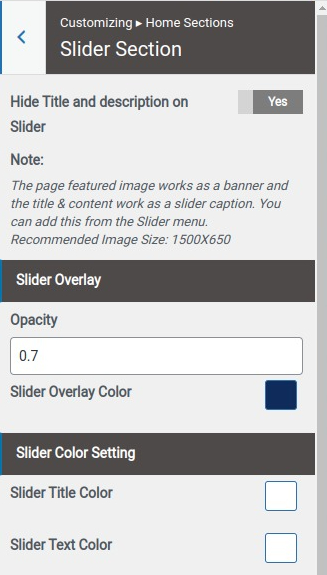
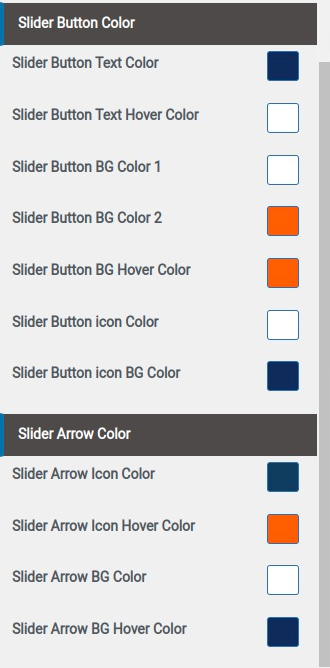
- Step 6. Slider Colors Setting
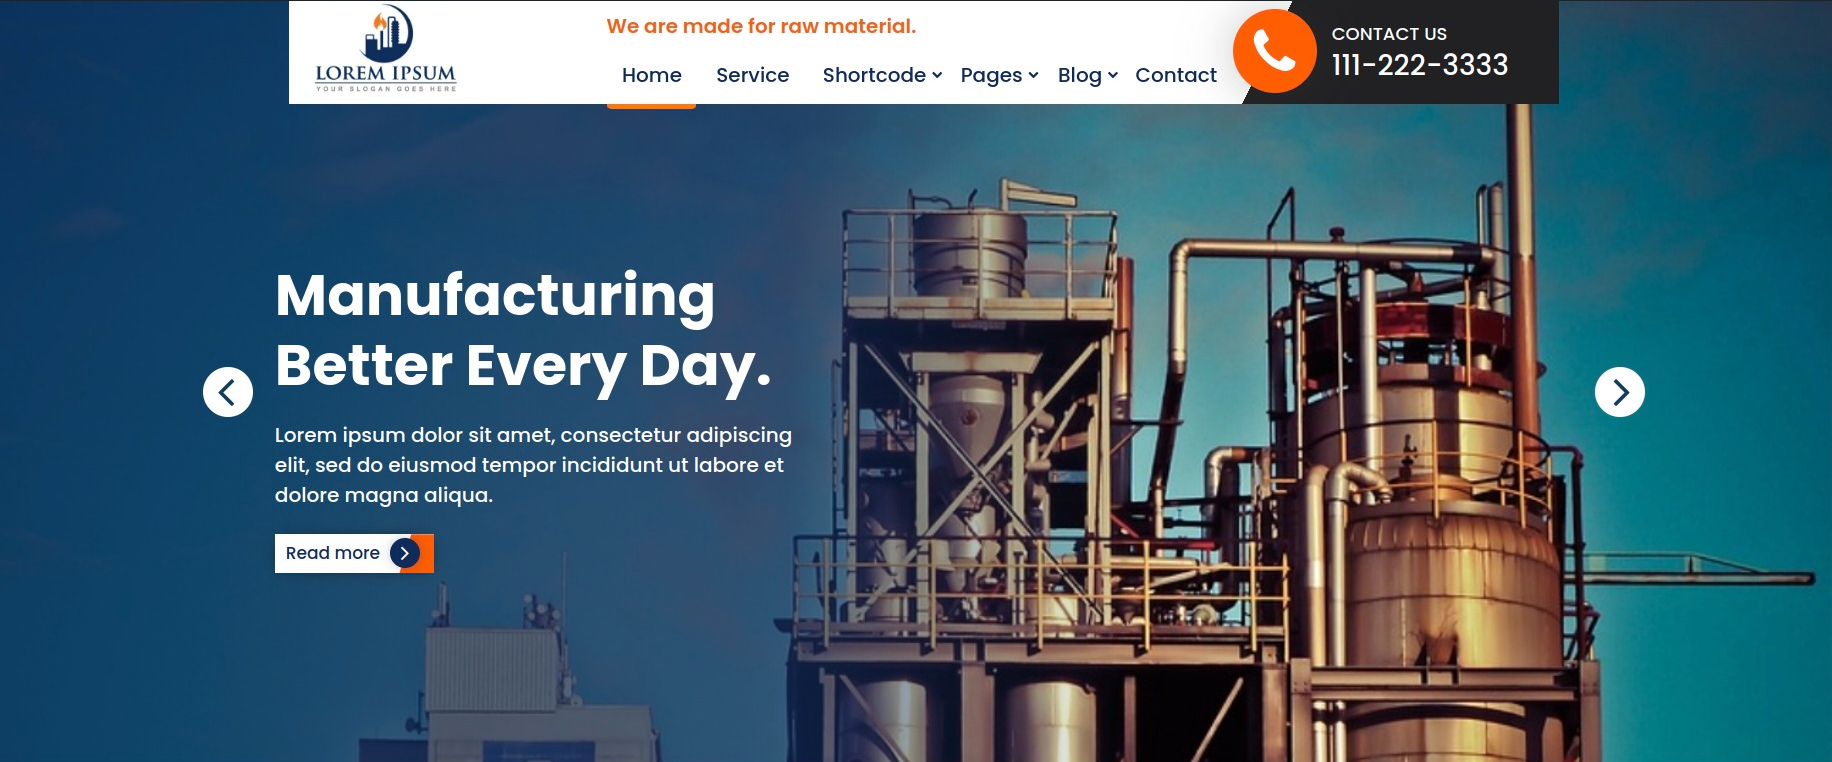
Final display of Slider Section:
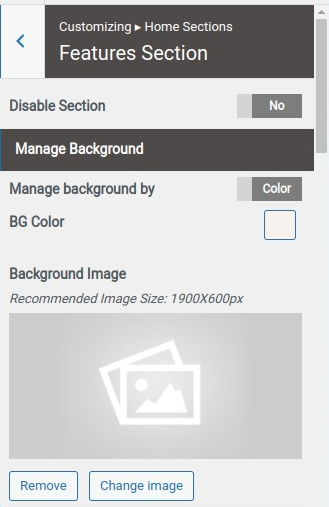
Set Features Section
- Step1. Go to Dashboard >> Appearance >> Customize >> Home section >> Features Section Step2.
- (a) Set Disable/Enable
- (b) Select Background Image and Background Color
- (c) Set Section Padding
- (a) Select Number Of Features To Show
- (b) Select FontAwesome Icon
- (c) Add Title
- (d) Add Description
- (e) Add Button Text
- (f) Add Featured Page Link
- (a)Select Colors


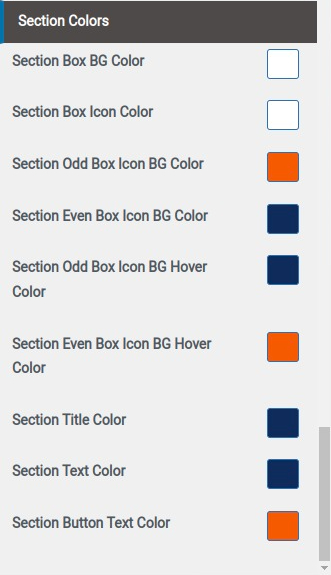
Final display of Features Section

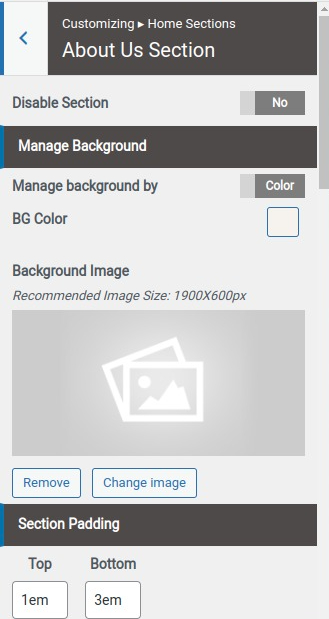
Set About Us Section
- Step1. Go to Dashboard >> Appearance >> Customize >> Home section >> About Us Section Step2.
- (a) Select Background Image and Background Color
- (b) Set Section Padding
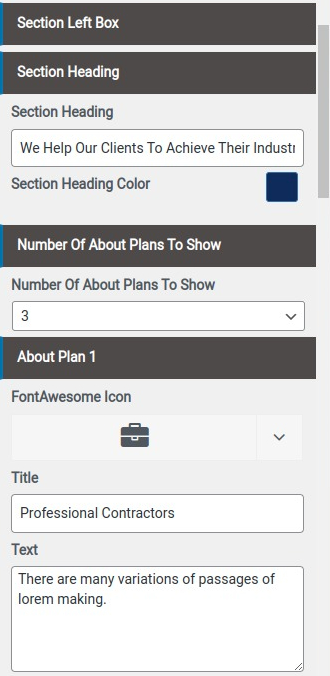
- (c) Add Section Heading & Contain & List & List Icon & Select Colors & Images

Final display of About Us Section
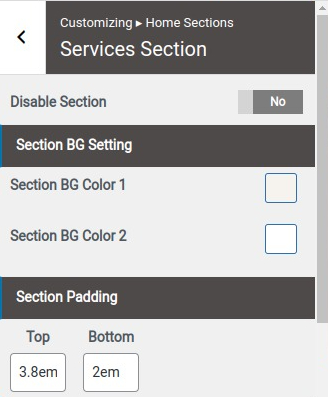
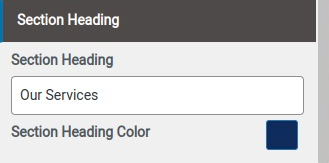
Services Section
- Step1. Go to Dashboard >> Appearance >> Customize >> Home section >> services Section Step2.
- (a) Set Disable/Enable
- (b) Select Background Color 1 And Color 2
- (c) Select Section Padding
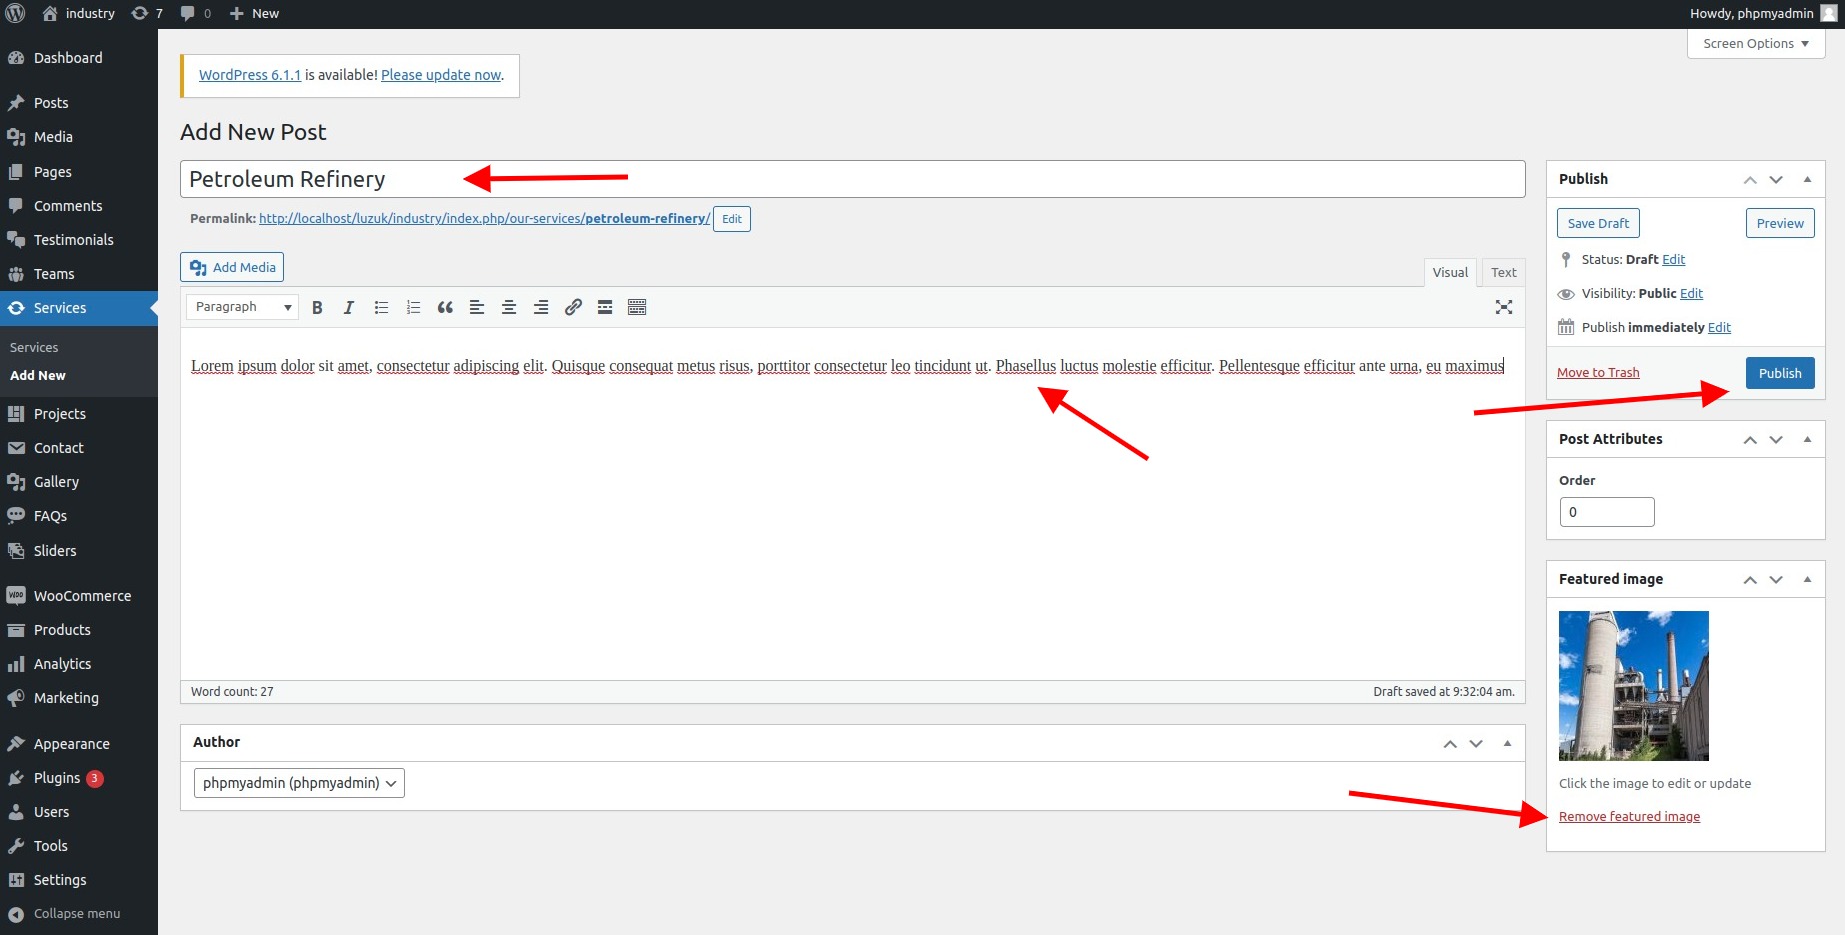
- (a) Go to >> Dashboard >> Services >> Add New
- (b) Add >> Title
- (c) Add >> Description
- (d) Set >> Featured Image
- (e) Click On >> Publish Button
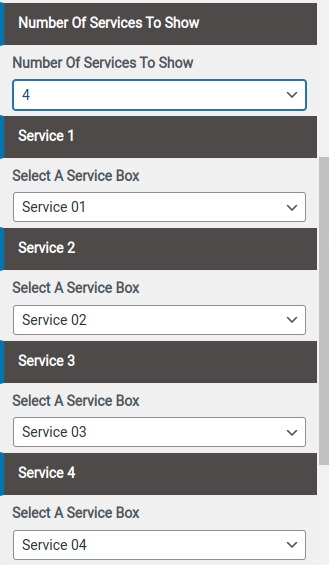
- (a) Go to Dashboard >> Appearance >> Customize >>
- (b) Select Number Of Services To Show & Select Service Box
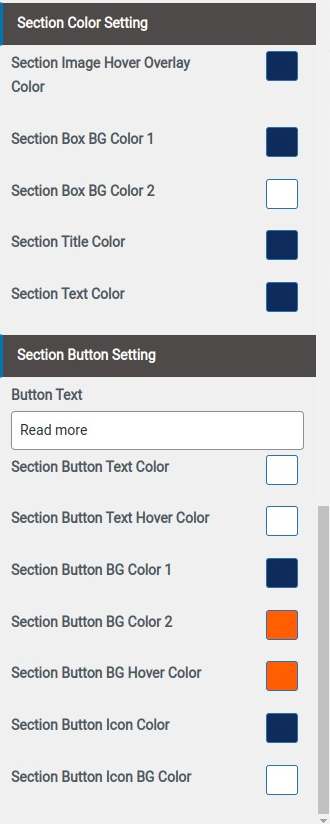
- (a) Select Colors

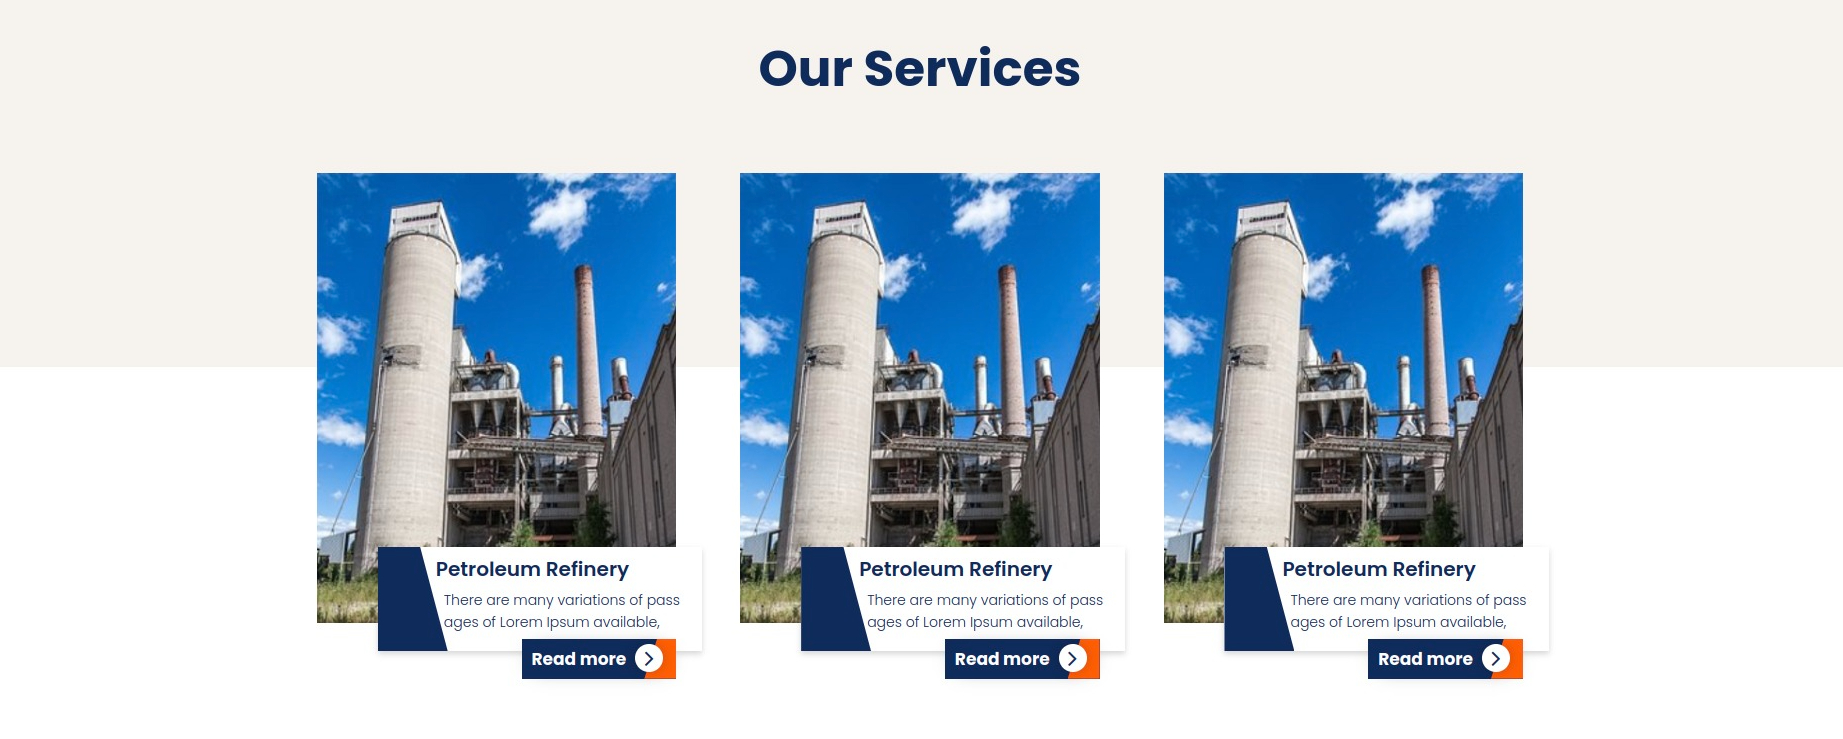
Final display of Service Section
Set Counter Section
- Step1. Go to Dashboard >> Appearance >> Customize >> Home section >> Counter Section Step2.
- (a) Set Disable/Enable
- (b) Select Background Image and Background Color
- (c) Set Section Padding
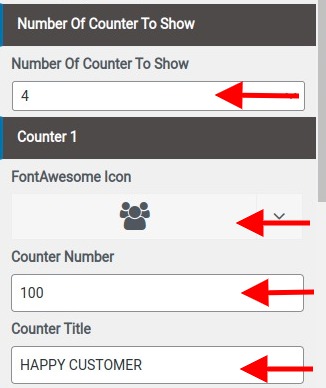
- (a) Select Number Of Counter To Show
- (b) Select FontAwesome Icon
- (c) Add Counter Number
- (d) Add Counter Title
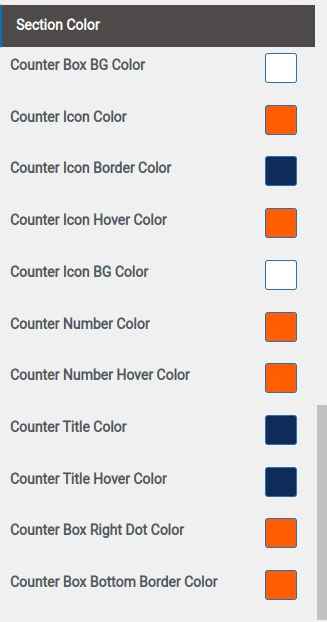
- (a)Select Colors

Final display of Counter Section

Set Contact Section
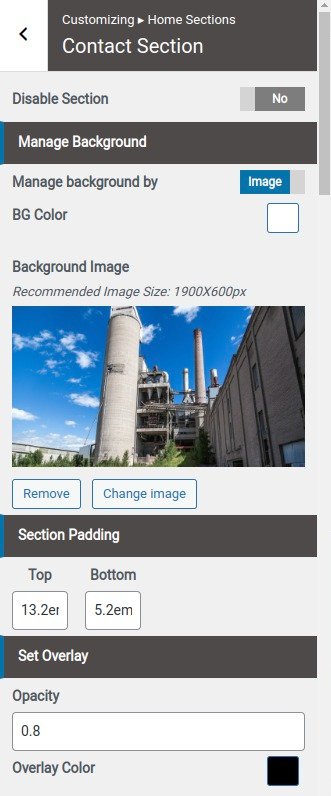
- Step1. Go to Dashboard >> Appearance >> Customize >> Home section >> Contact Section Step2.
- (a) Select Background image or Background Color
- (b) Set Padding for Contact section
- (c) Set Overlay
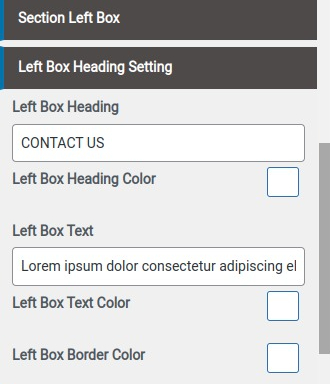
- (d) Add Contact Heading
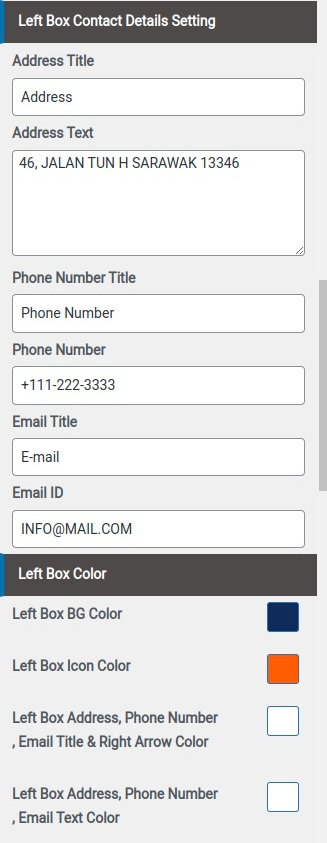
- (e) Add Contact Detail
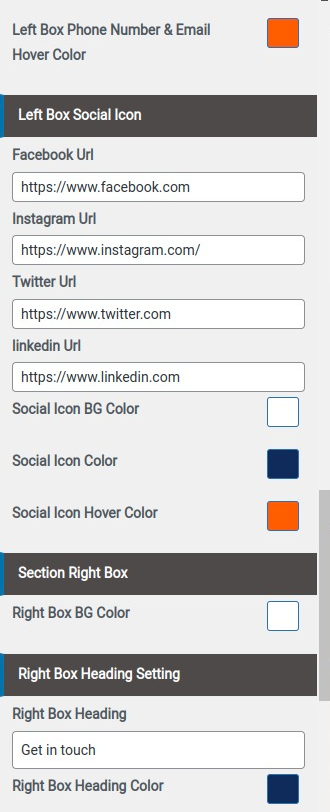
- (f) Add Social Icon Links
- (g) Select Color
- Step 3.
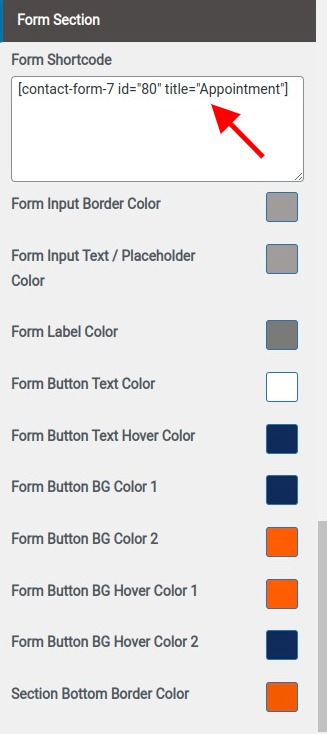
- Go to Dashboard Plugin >> Click on Add new button & install contact form 7 plugin & create contact form
- Step5. Go to Dashboard >> Appearance >> Customize >> Home section >> Contact Section
- Add Contact form 7 shortcode & select colors
Final display of Contact Section

Our Team Section
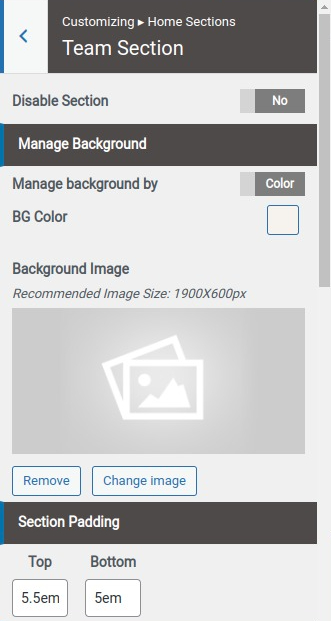
- Step1. Go to Dashboard >> Appearance >> Customize >> Home section >> Team Section Step2.
- (a) Enable/Disable Section
- (b) Manage background by using Colors/Image
- (c) Set Padding for Section
- (a) Dashboard Team Add New
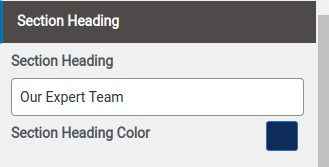
- (a) Section Heading
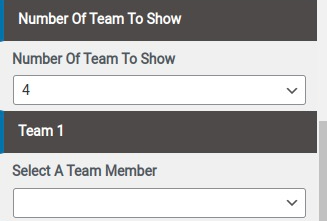
- (a) Number Of Team To Show
- (b) Select Team Member
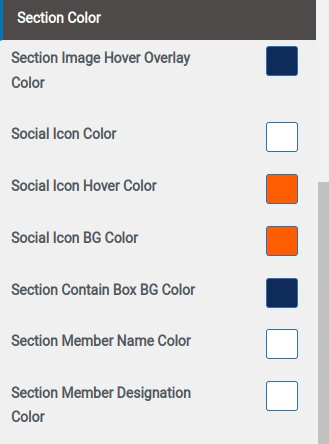
- (a) Select Colors

Final display of Our Team Section

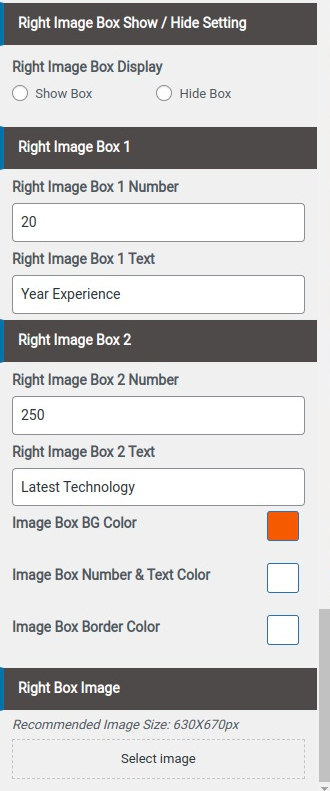
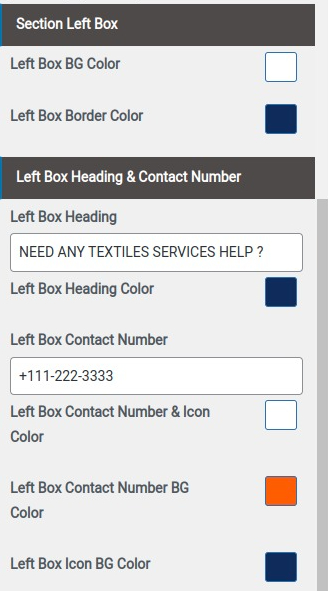
Call Now Section
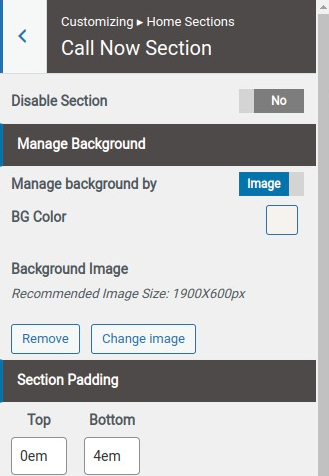
- Step1. Go to Dashboard >> Appearance >> Customize >> Home section >> Call Now Section Step2.
- (a) Enable/Disable Section
- (b) Manage background by using Colors/Image
- (c) Set Padding for Section
- (a) Add Left Box Heading And Contact Number
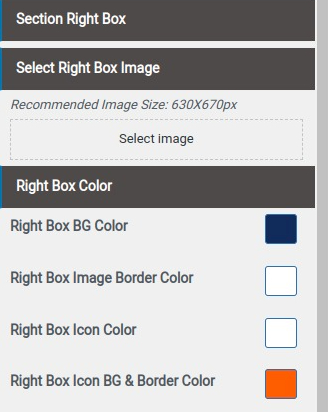
- (a) Select Right Box Image
- (b) Select Right Box Color
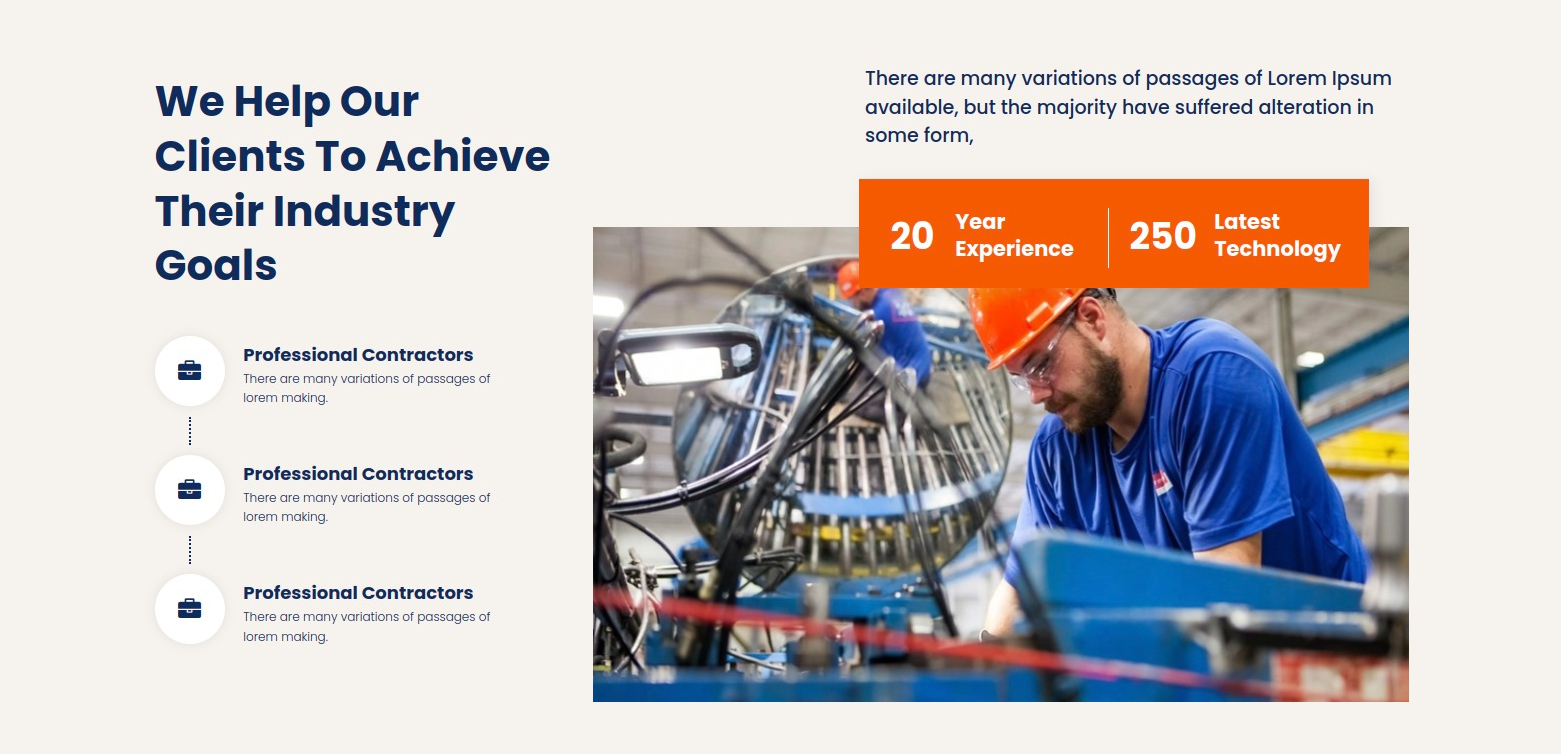
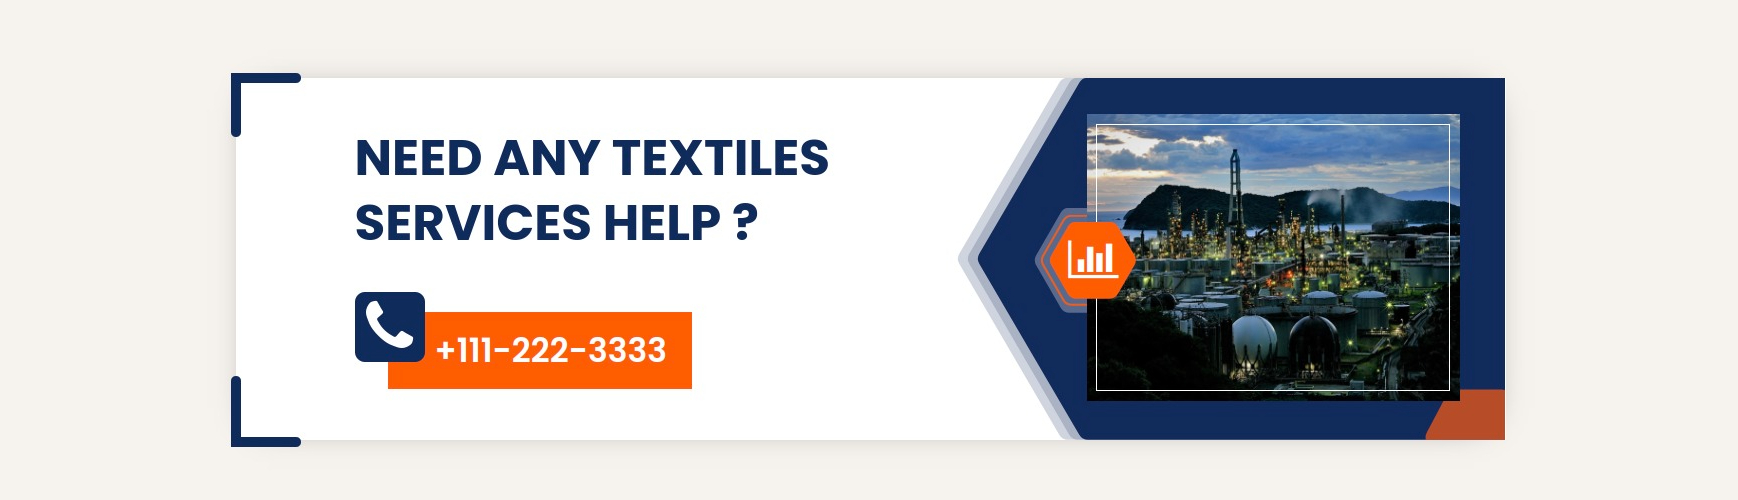
Final display of Call Now Section
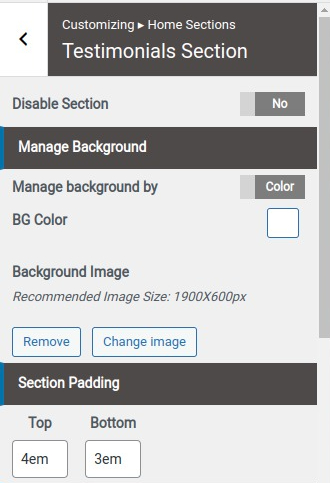
Our Testimonial Section
- Step1. Go to Dashboard >> Appearance >> Customize >> Home section >> Testimonial Section Step2.
- (a) Enable/Disable Section
- (b) Manage background by using Colors/Image
- (c) Set Padding for Section
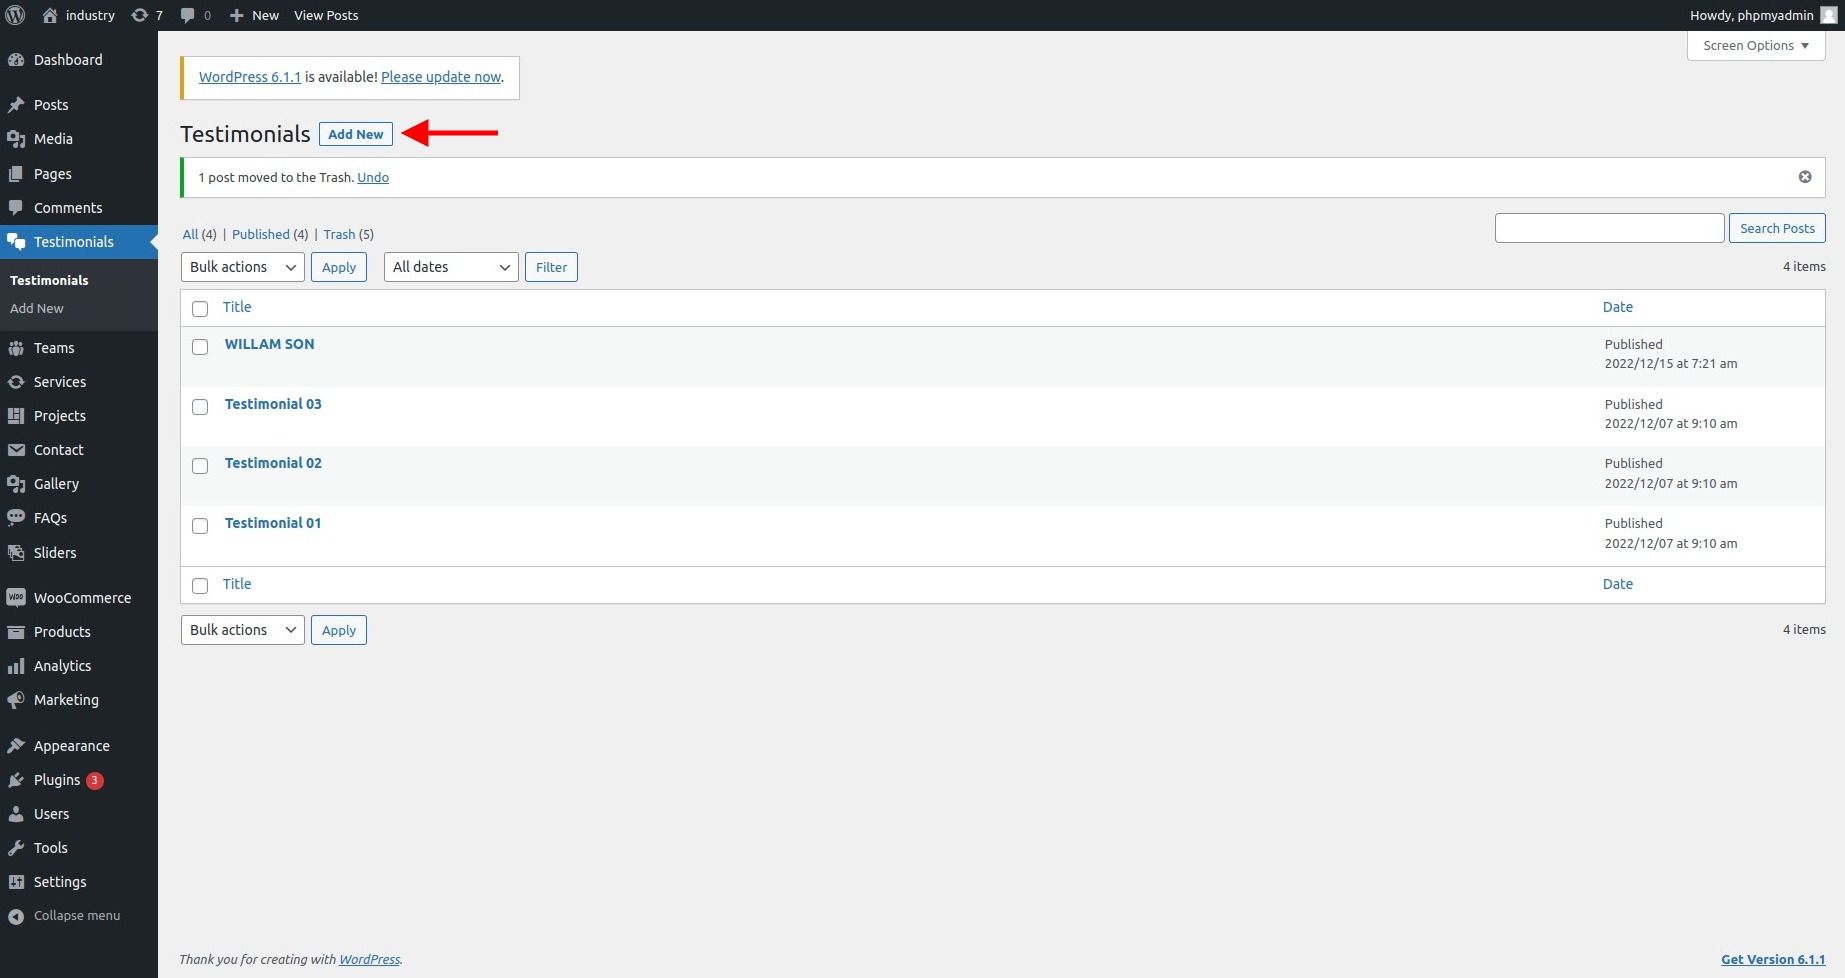
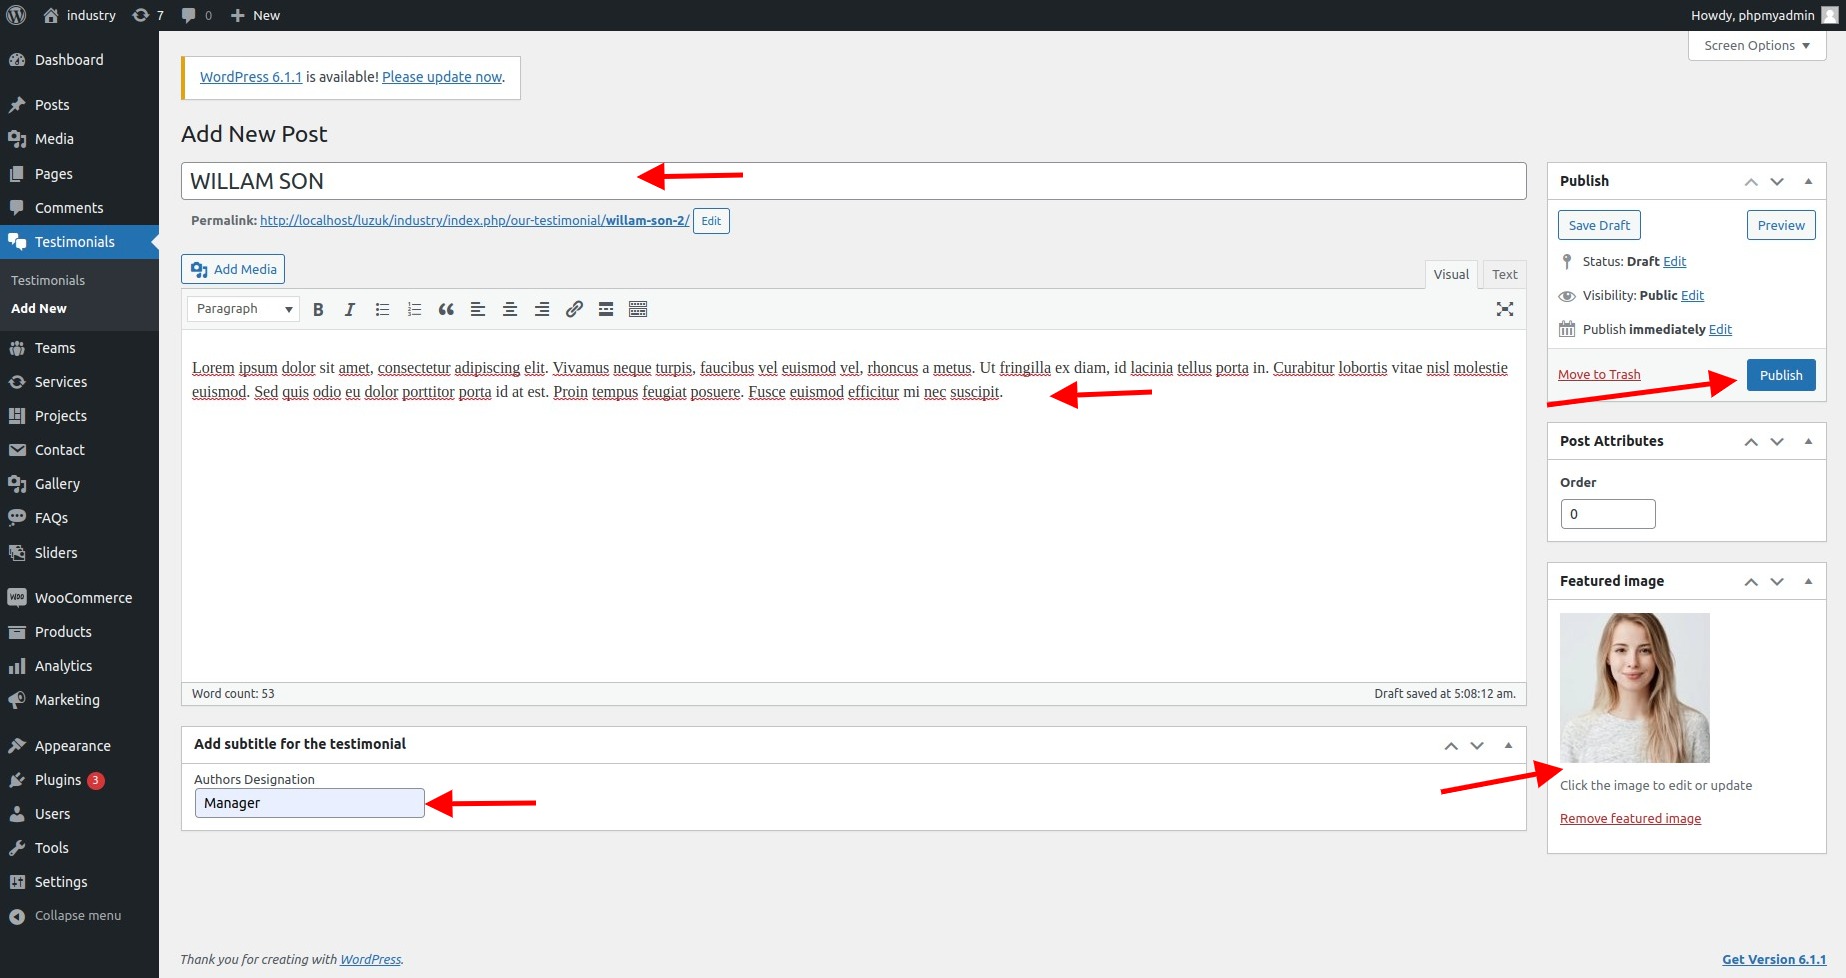
- (a) Dashboard Testimonial Add New
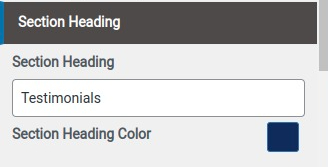
- (a) Section Heading
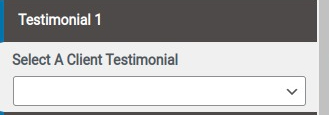
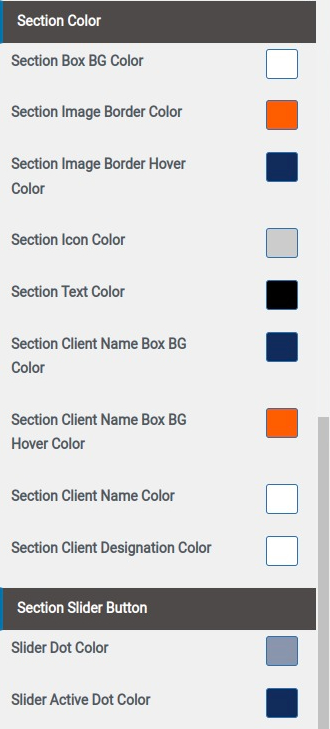
- (a) Select Client Testimonial
- (a) Select Colors
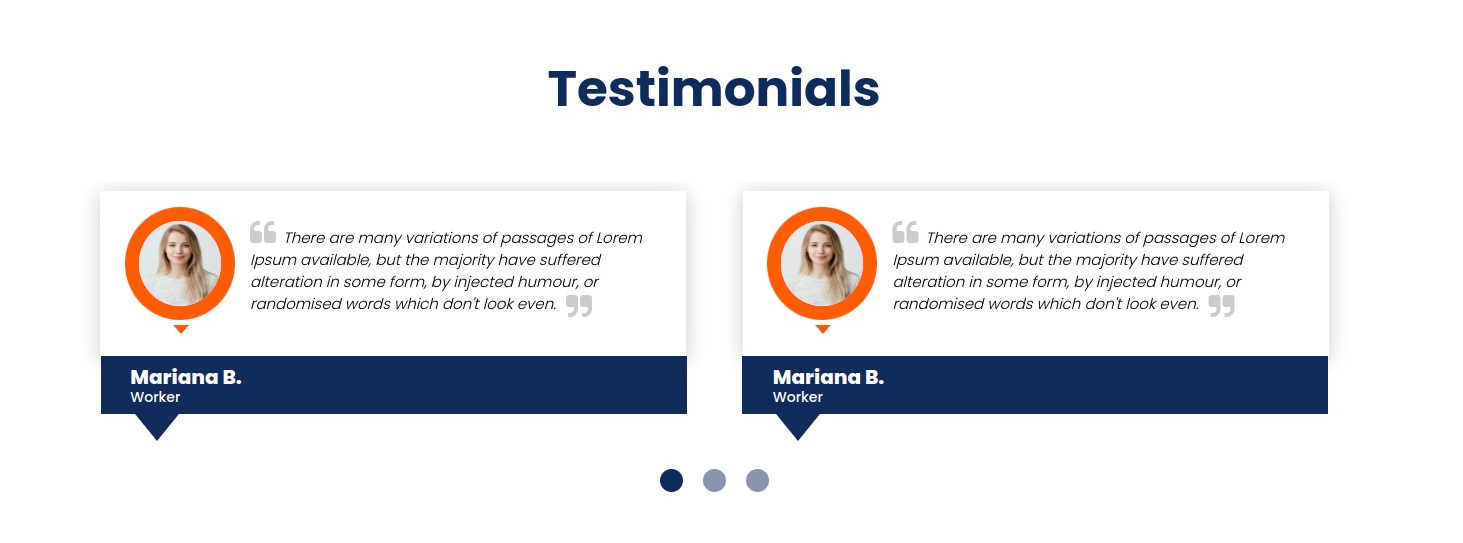
Final display of Testimonial Section
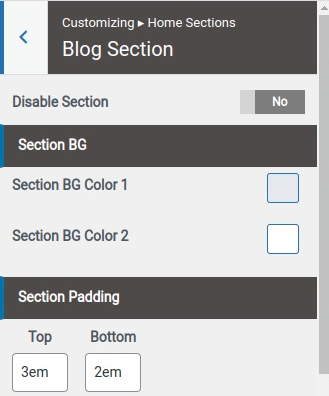
Set Blog Section
- (a) Enable/Disable Section
- (b) Manage background by using Colors/Image
- (c) Set Padding for Section
- Step2.
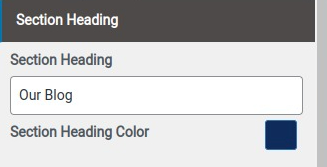
- (a) Add Section Heading
- (b) Select Section Heading Color
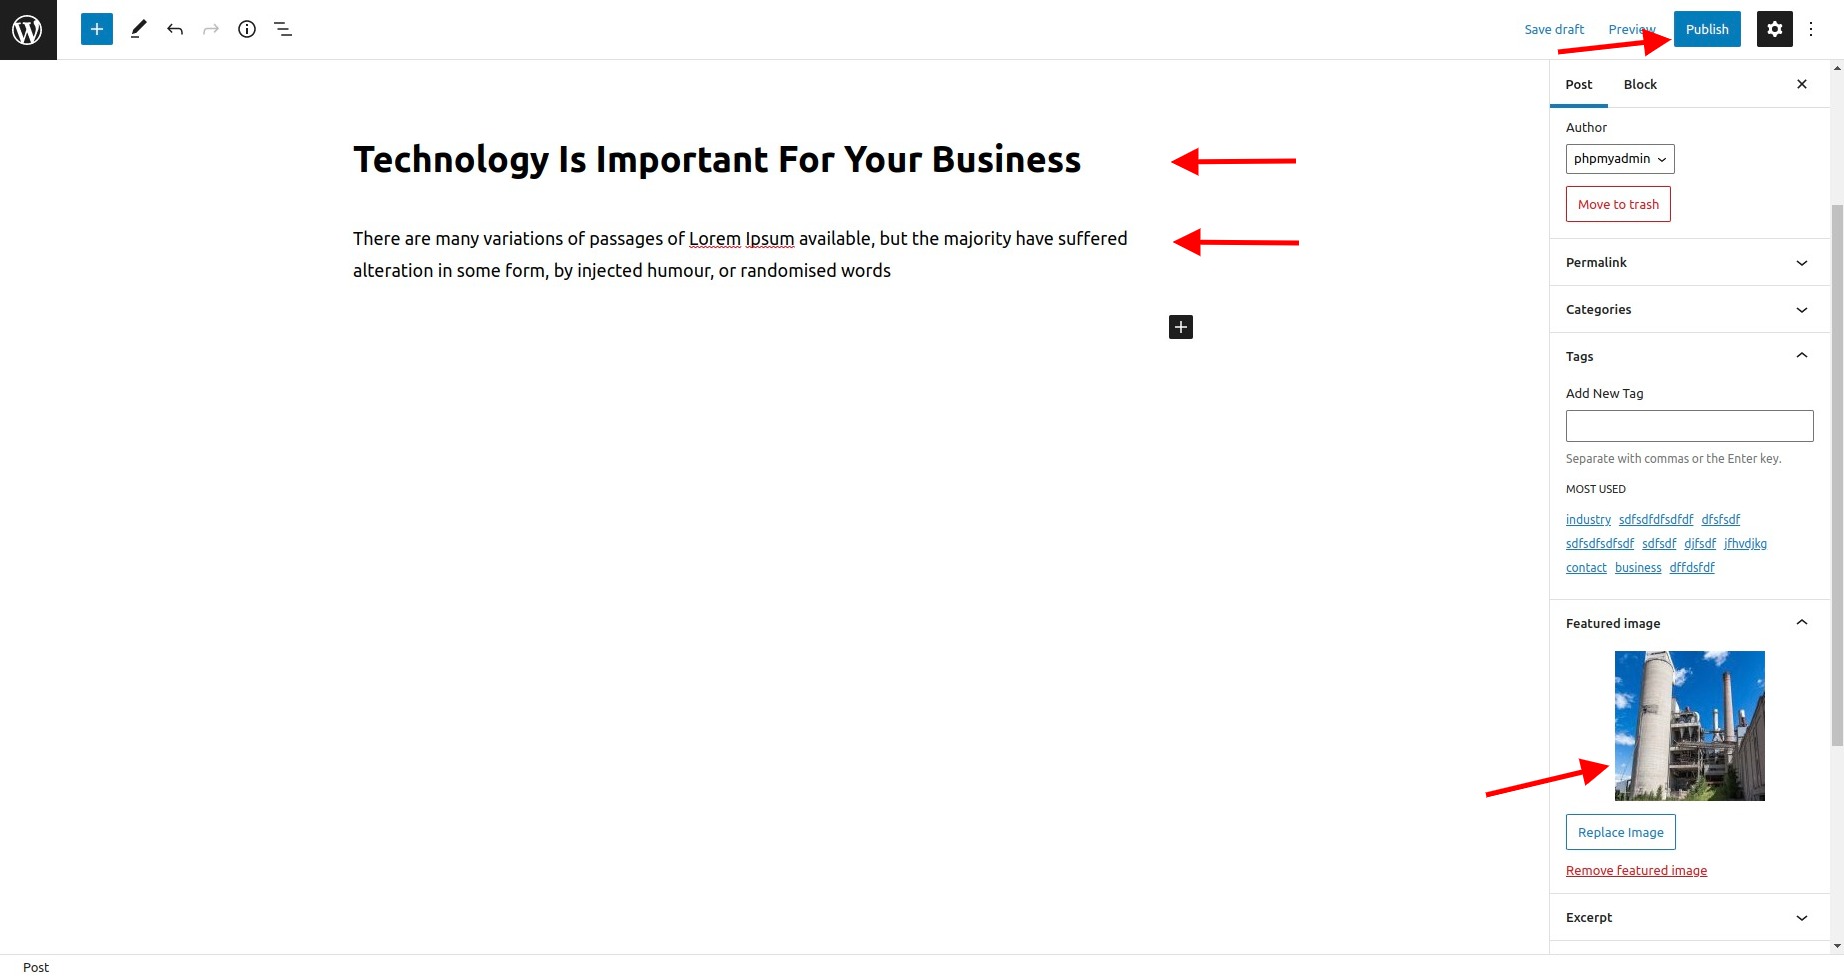
- Step3. Go to Dashboard >> post >> Add New
- (a) Add Post title
- (b) Add Post Description
- (c) Select Categories
- (d) Select Tag
- (e) select Featured Image
- (f) Publish
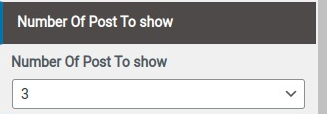
- (g) Select Number of post to show
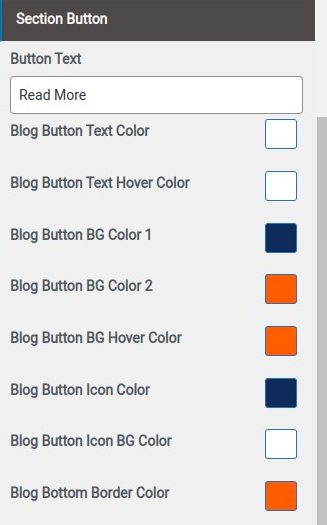
- (h) Select Colors
- (i) Add Button Text
- (j) Select Button Color

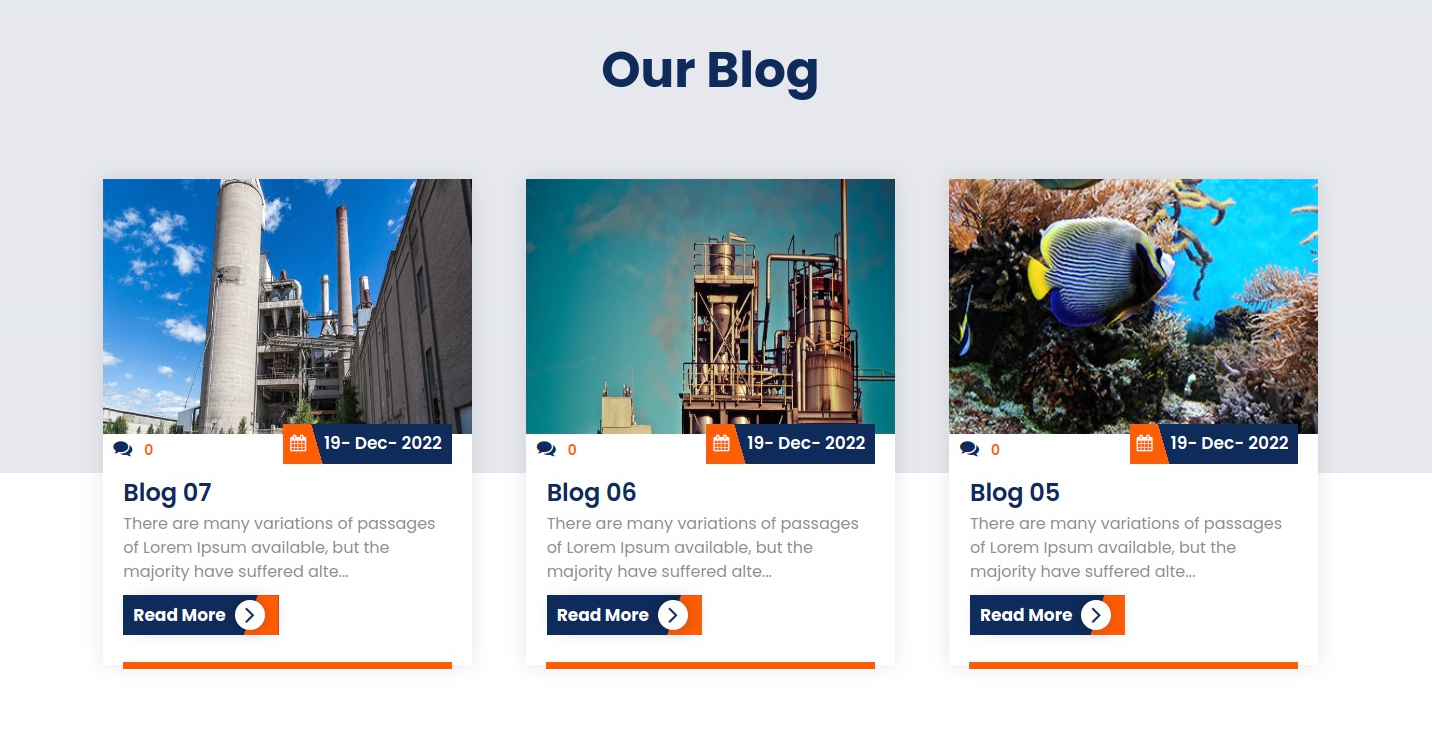
Final display of Blog Section
Set Client Logo Section
- Step1. Go to Dashboard >> Appearance >> Customize >> Home section >> Client Logo Section Step2.
- (a) Enable/Disable Section
- (b) Manage background by using Colors/Image
- (c) Set Padding for Section
- (d) Add Section Client Logo Image
- (e) Add Button Link
- (f) Select Color
Final display of Client logo Section

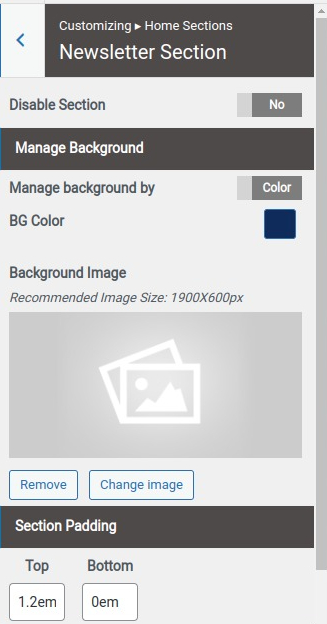
Set Newsletter Section
- Step1. Go to Dashboard >> Appearance >> Customize >> Home section >> Newsletter Section Step2.
- (a) Enable/Disable Section
- (b) Manage background by using Colors/Image
- (c) Set Padding for Section
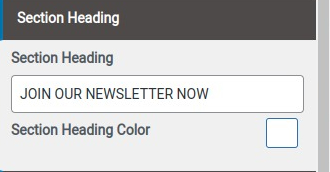
- (e) Set Section Heading
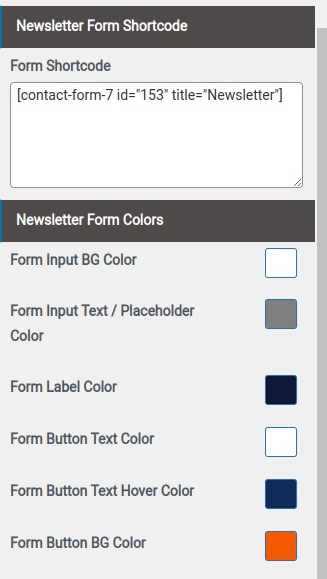
- Step 3.
- Go to Dashboard Plugin >> Click on Add new button & install contact form 7 plugin & create contact form
- Step5. Go to Dashboard >> Appearance >> Customize >> Home section >> Newsletter Section
- Add Contact form 7 shortcode & select colors
Final display of Newsletter Section

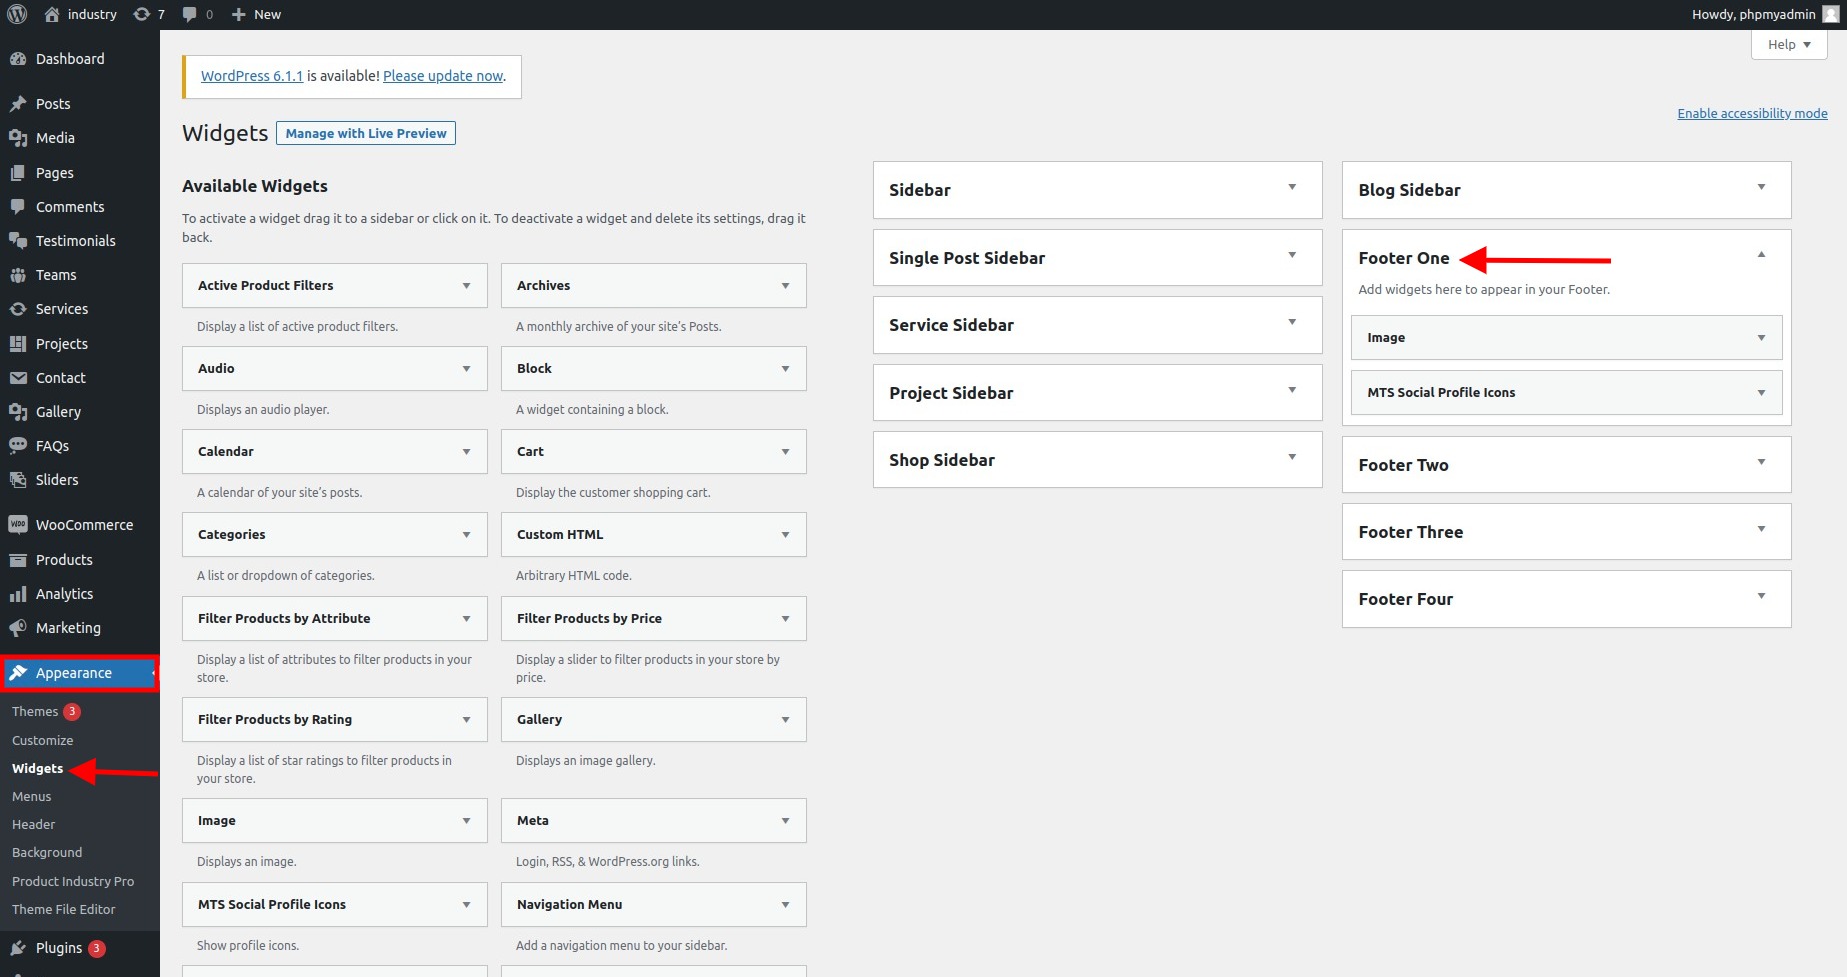
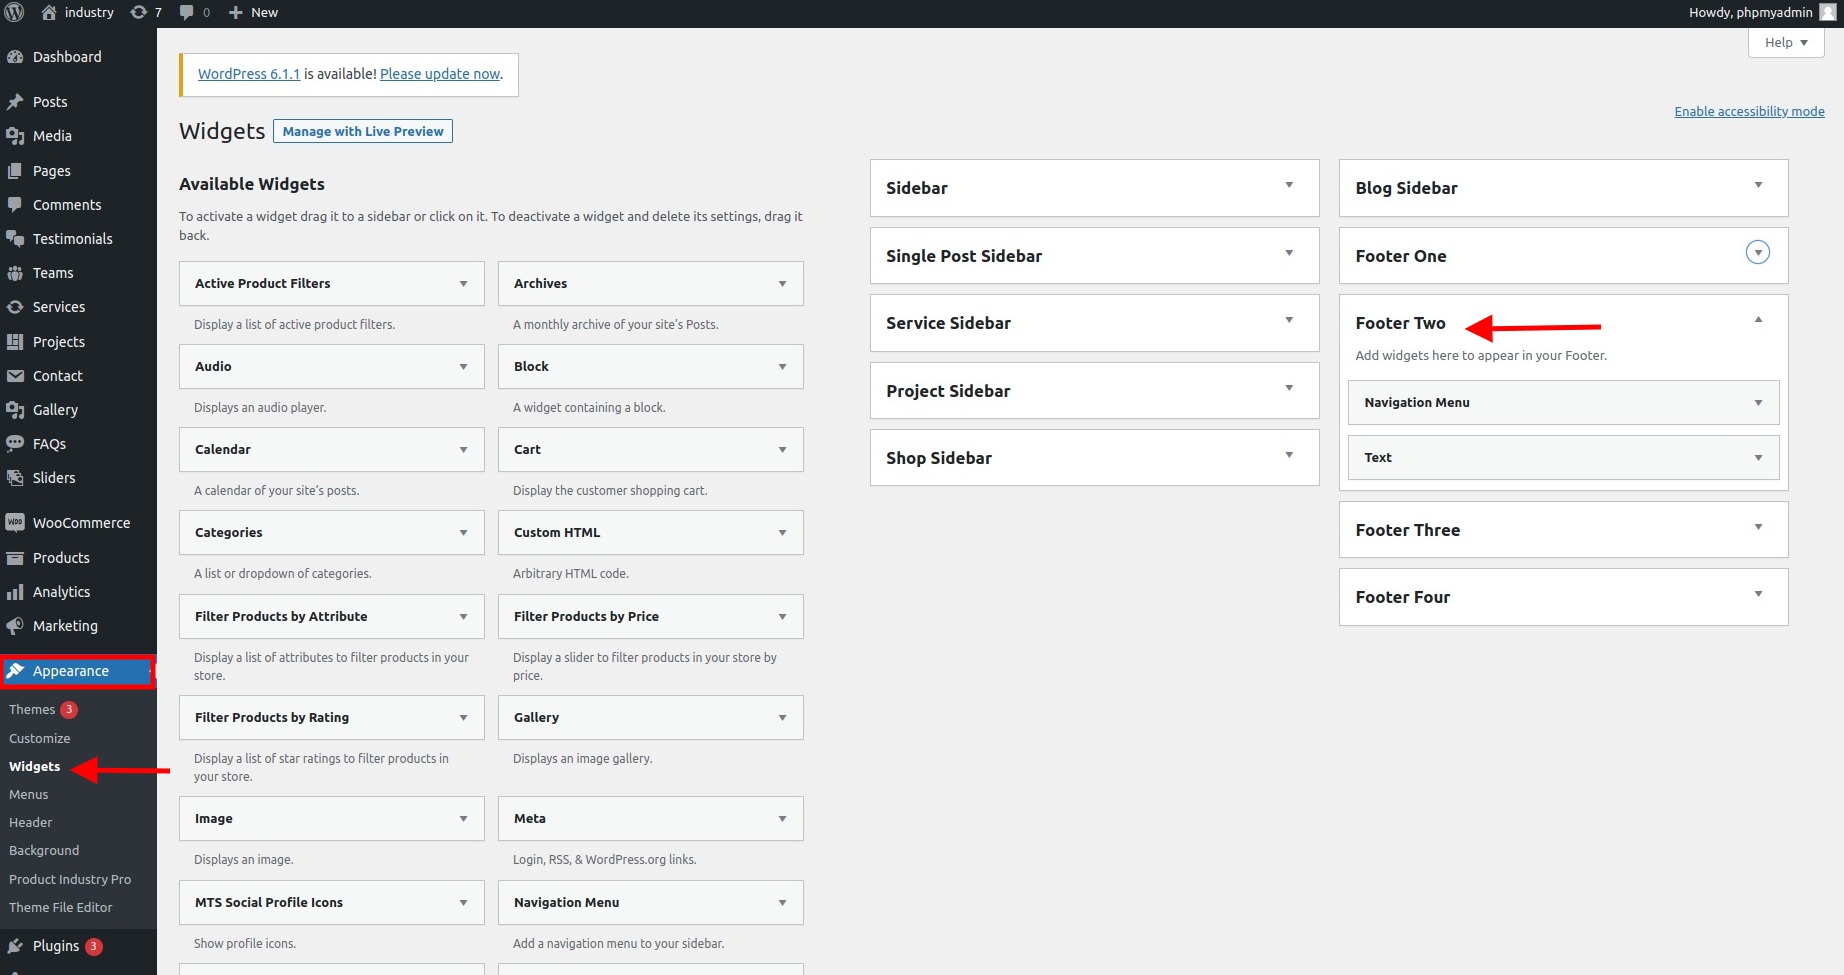
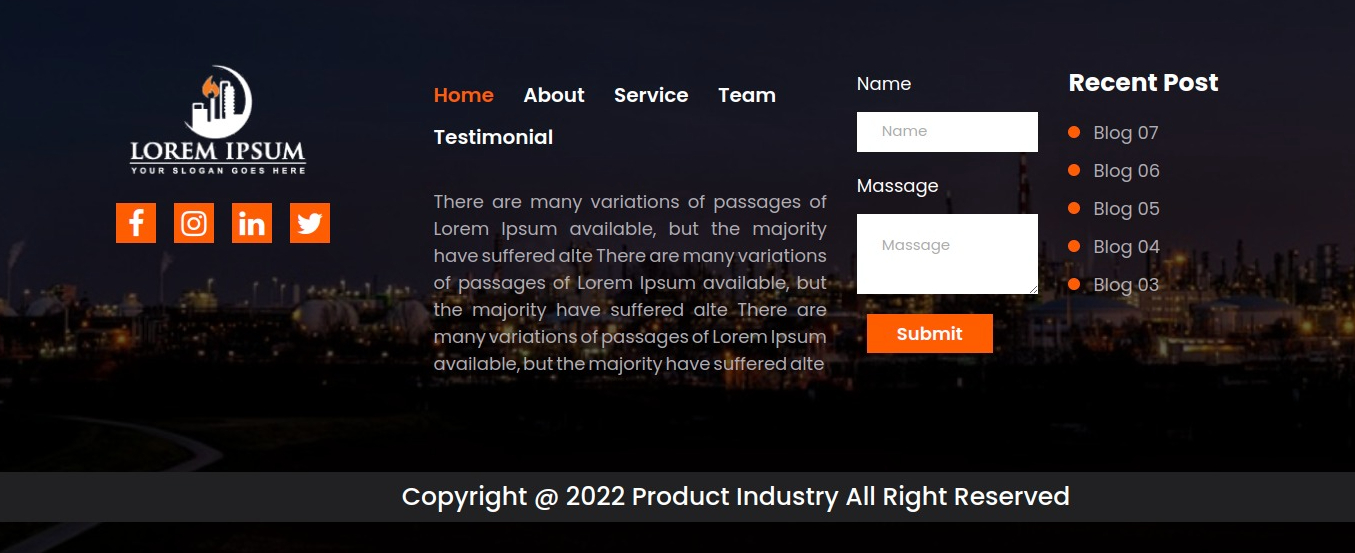
Set Footer Section
- Step1. Go to Dashboard >> Appearance >> Widgets >> Footer Section
- Step2. Select footer
- (a)footer One
- (i)Add Text Title
- (ii)Add Text Content
- (iii)click on "save" button
- (b)footer Two
- (i)Add QUICK LINKS
- (ii)Add Title
- (iii)click on "save" button
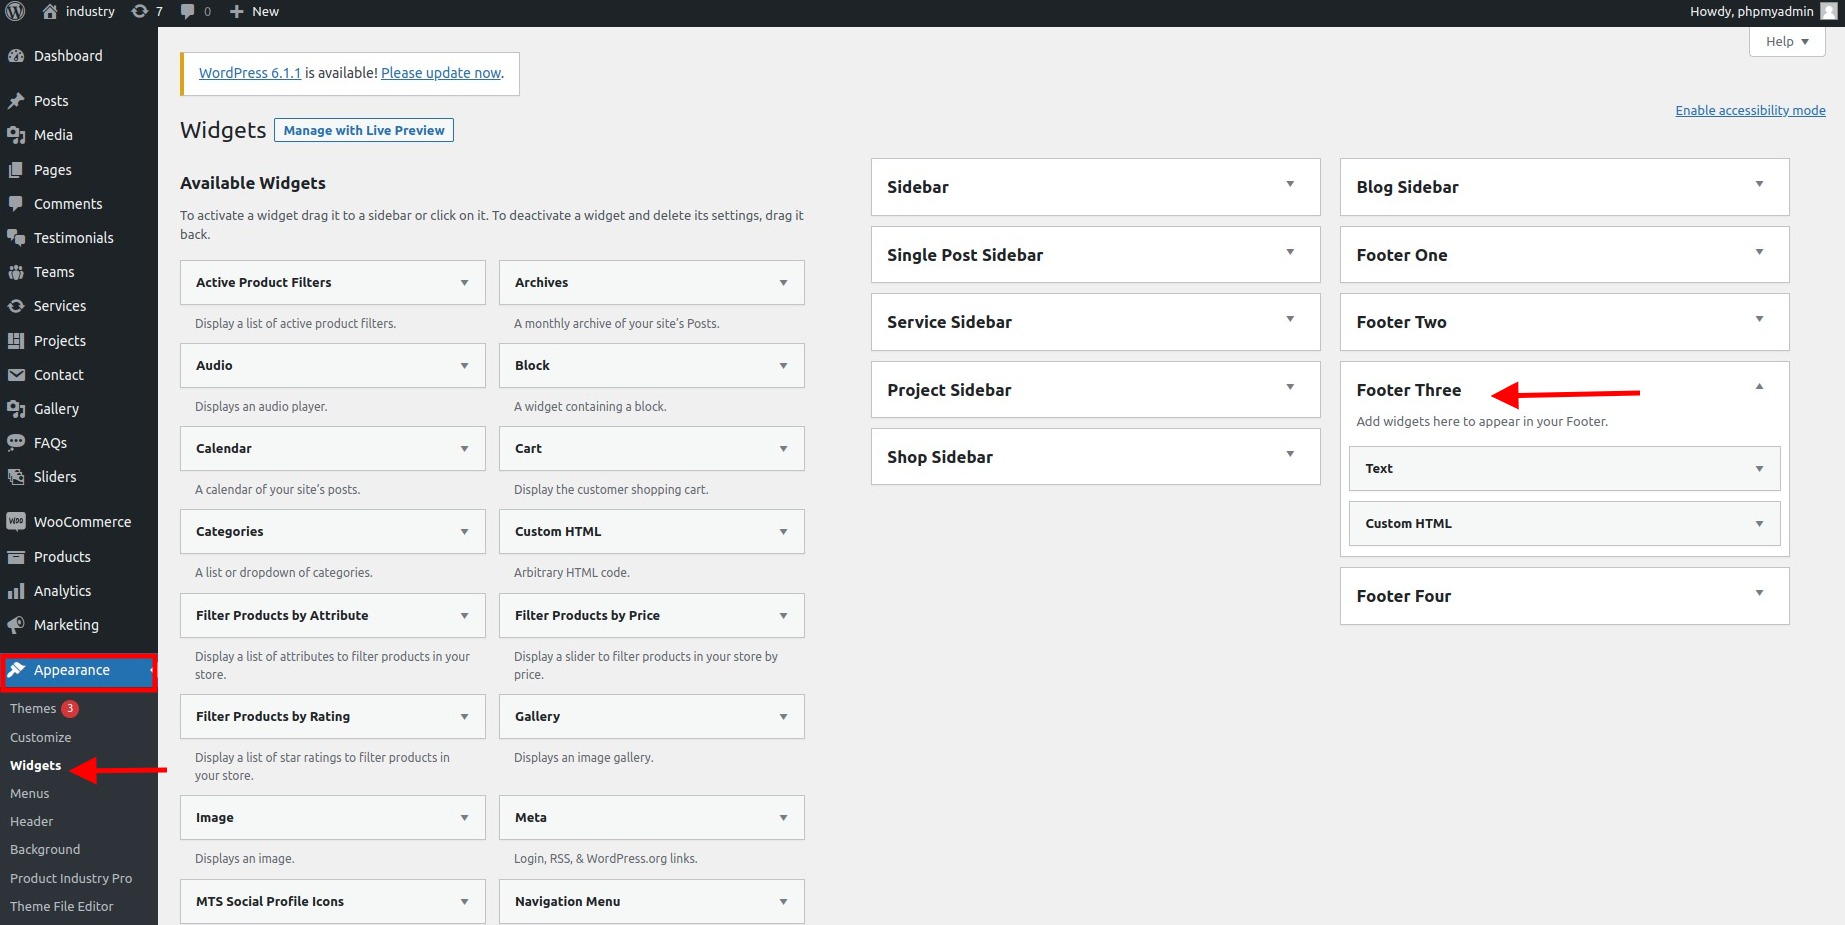
- (c)footer Three
- (i)Add Contact Form Shortcode/b>
- (ii)Add Title
- (iii)click on "save" button
- (c)footer Four
- (i)Drag And DropRecent Post Widgets From Widget Area
- (ii)Add Title
- (iii)click on "save" button
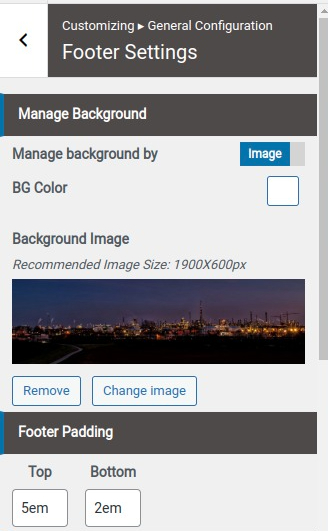
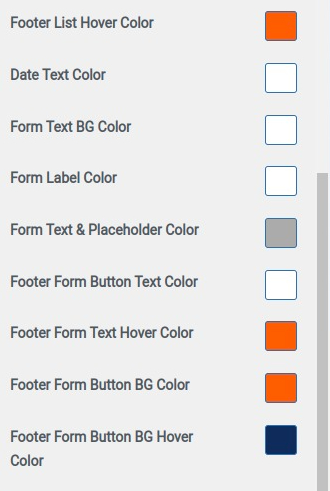
- Step3. Go to Dashboard >> Appearance >> Customize >> General Configuration >> Footer Settings
- (a) Manage background by using Colors/Image
- (b) Set Padding for Footer
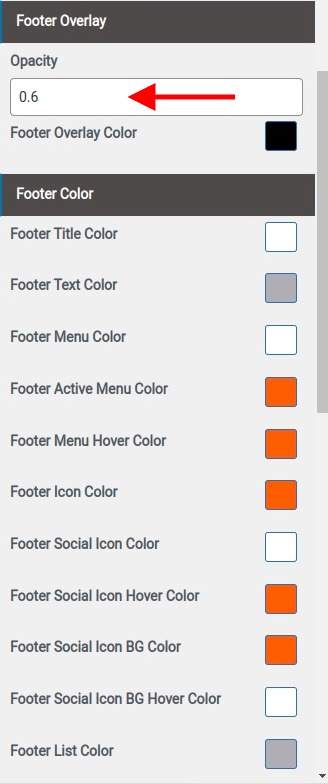
- (c) Set Overlay
- (d) Select Footer Color
- (b) Set Padding for Copyright Text Box
- (e) Set Copyright Text
- (f) Select Copyright Color


Final display of Footer Section
Setting up Page Template
- Step 1. Go to Dashboard >> Page
- Step 2. Go to Add New button
- Step 3. select template at right bottom of page
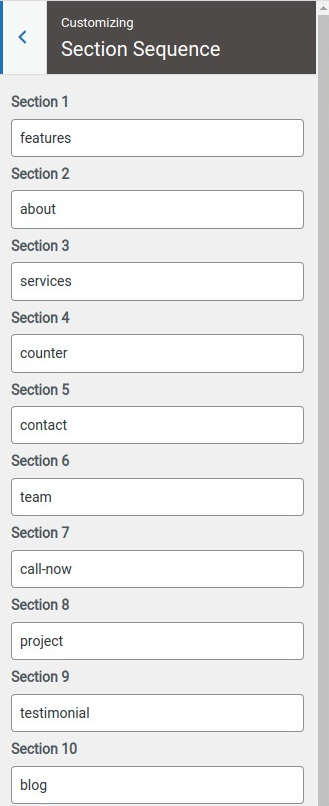
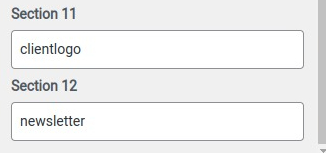
To Arrange Section Sequence
- Step 1. Go to Dashboard >> Appearance >> Customizer >> Section Sequence
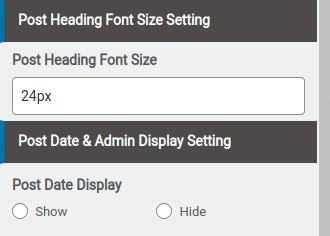
Set Blog page Setting
- Step 1. Go to Dashboard >> Appearance >> Customizer >> General Configuration >> Blog Page Settings Step2.
- (a)Add Font Size
- (c) Select Post Date & Admin Display Setting
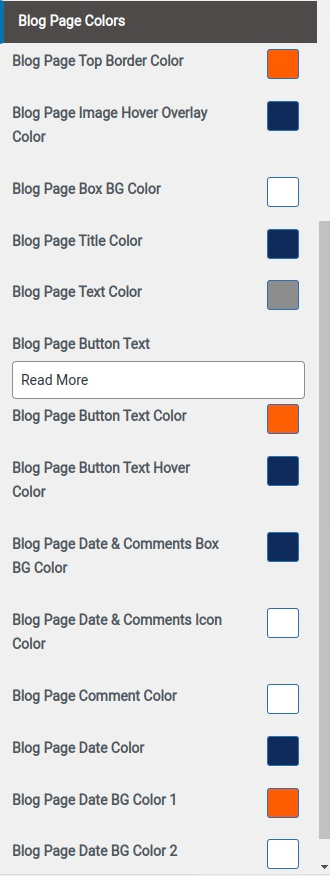
- (d) Select Blog Page Colors
Inner Pages
Pages
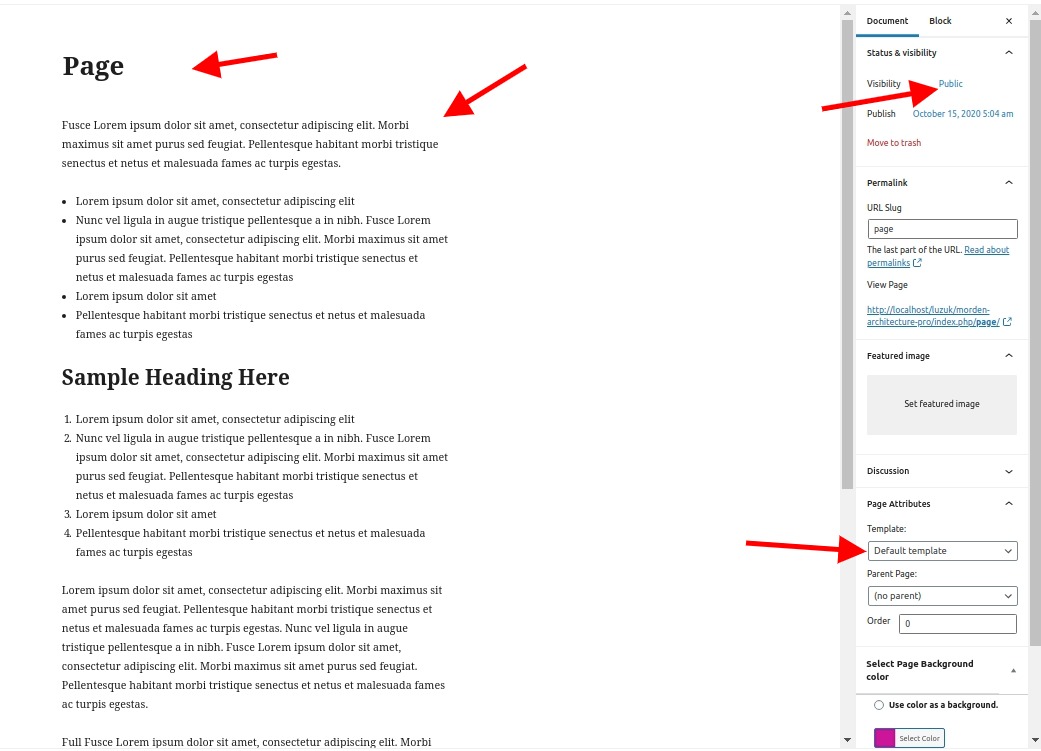
Setting up full width page
- Step 1. Go to Dashboard >> Page
- Step 2. Click Add New button
- Step 3. Select Default template at right bottom of page
- Step 4. Add Title for page
- Step 5. Add Content for page
- Step 6. Click Publish button
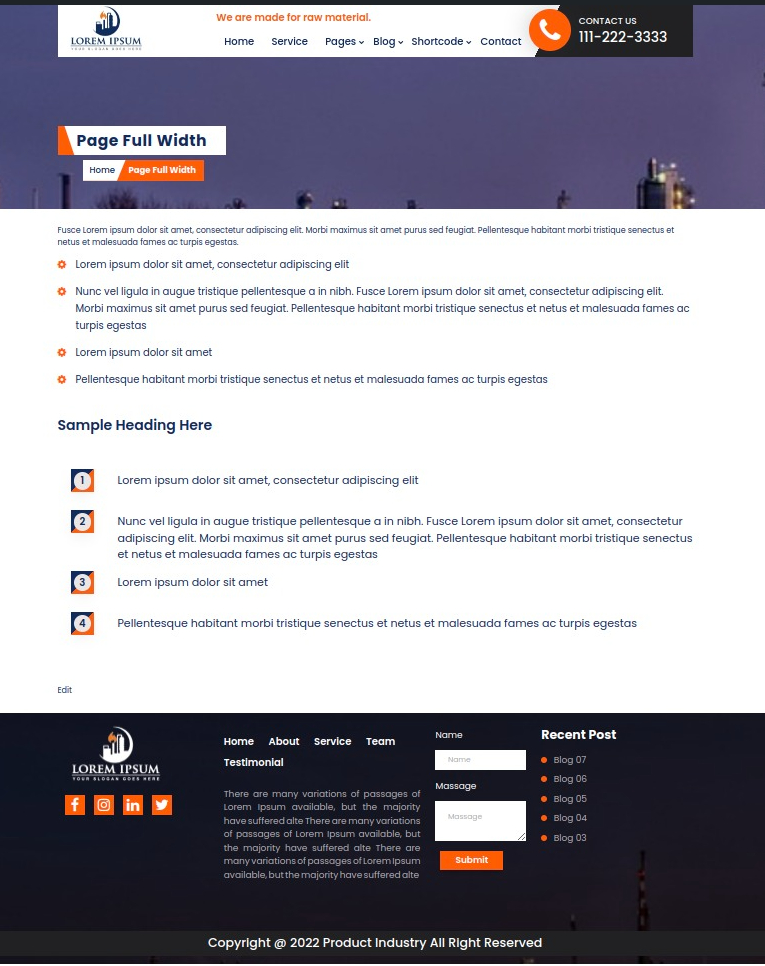
Full Width Inner Page
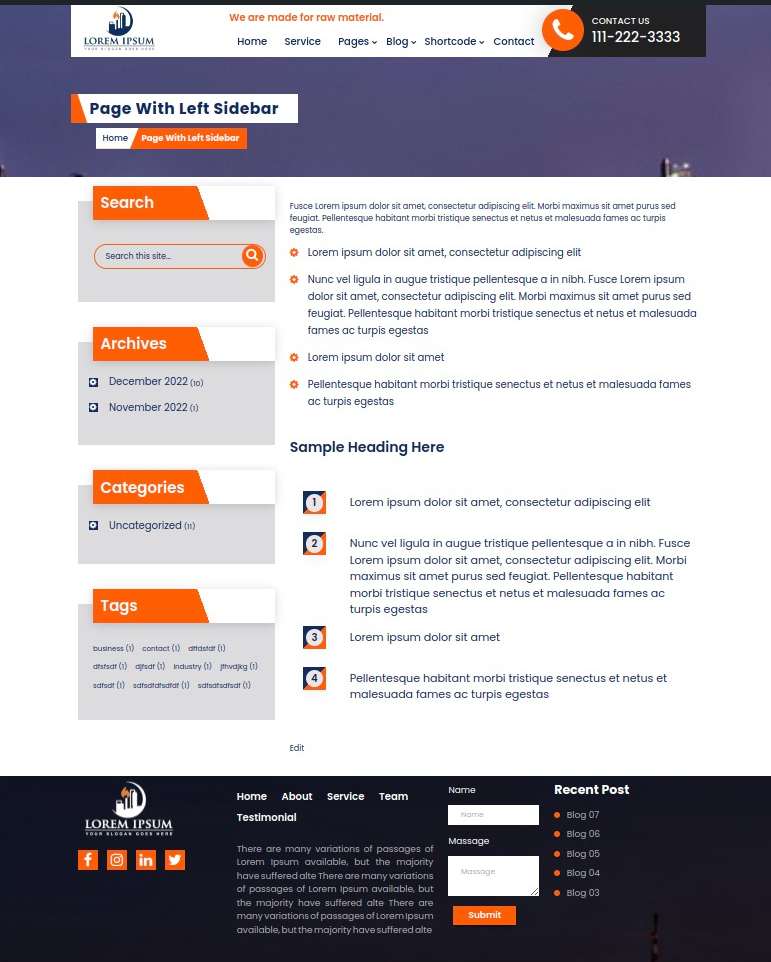
Setting page with left sidebar
- Step 1. Go to Dashboard >> Page
- Step 2. Click Add New button
- Step 3. Select Page With Left Sidebar template at right bottom of page
- Step 4. Click publish button

Page With Left Sidebar Inner Page
Setting page with right sidebar
- Step 1. Go to Dashboard >> Page
- Step 2. Click Add New button
- Step 3. Select Page With Right Sidebar template at right bottom of page
- Step 4. Click publish button
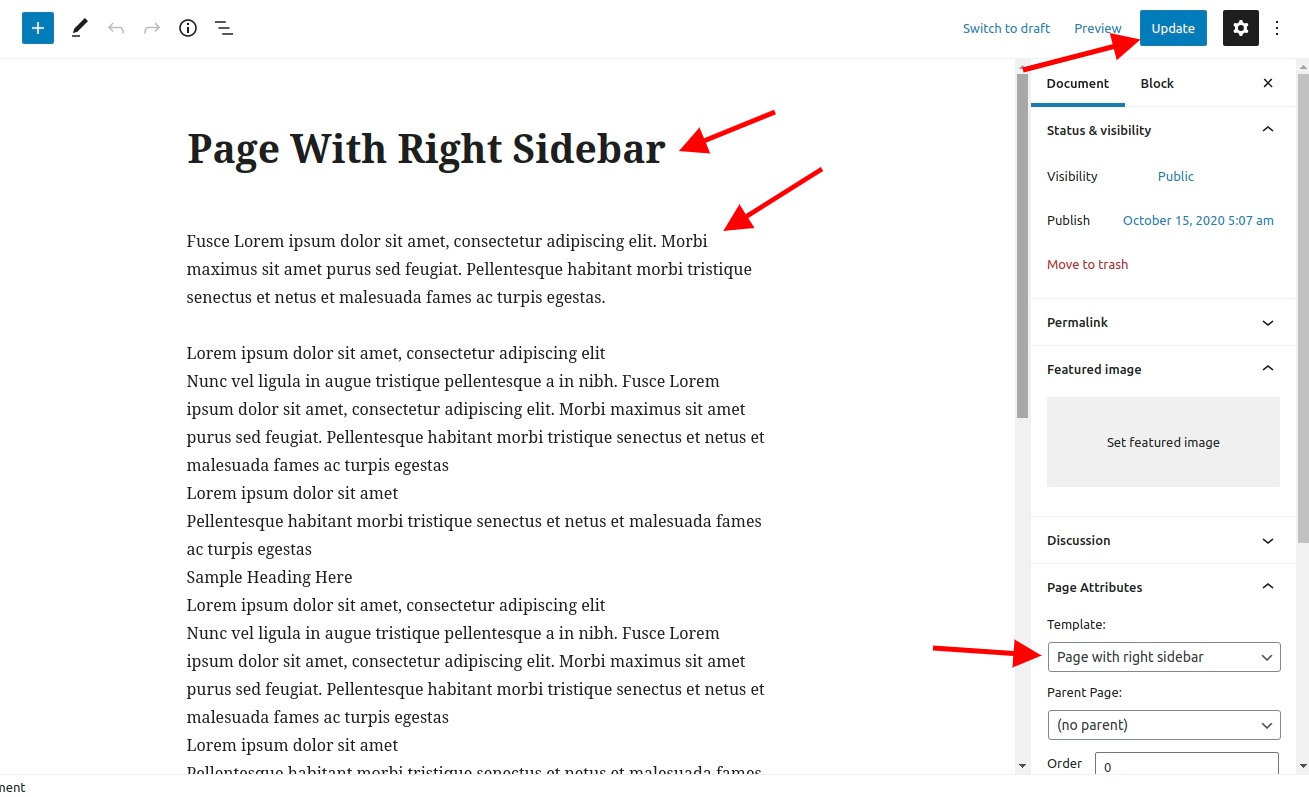
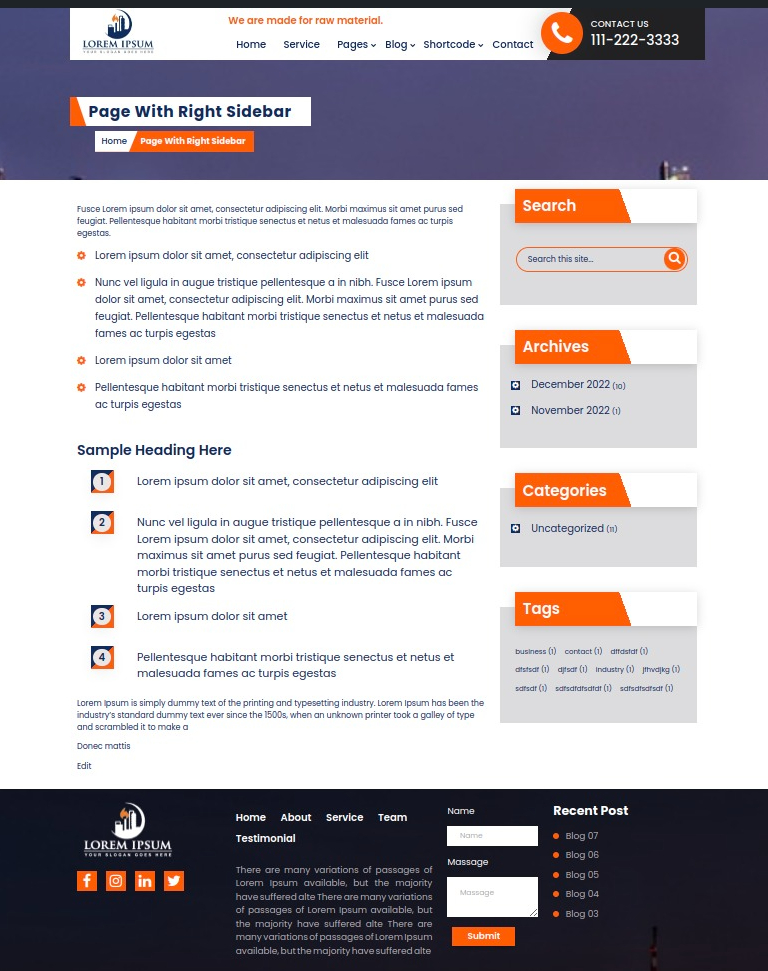
Page With Right Sidebar Inner Page
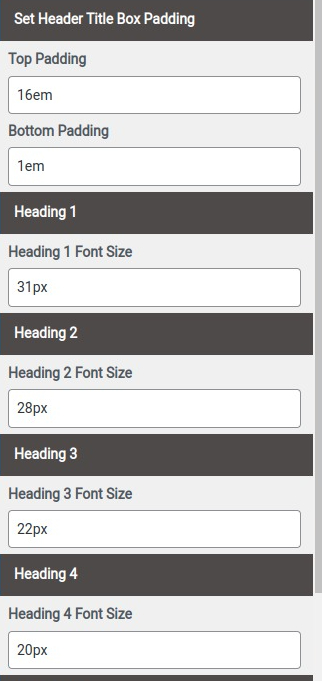
Set Inner Page Settings
- Step1. Go to Dashboard >> Appearance >> Customizer >> General configuration >> Inner page settings
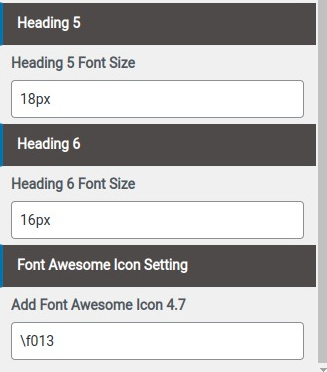
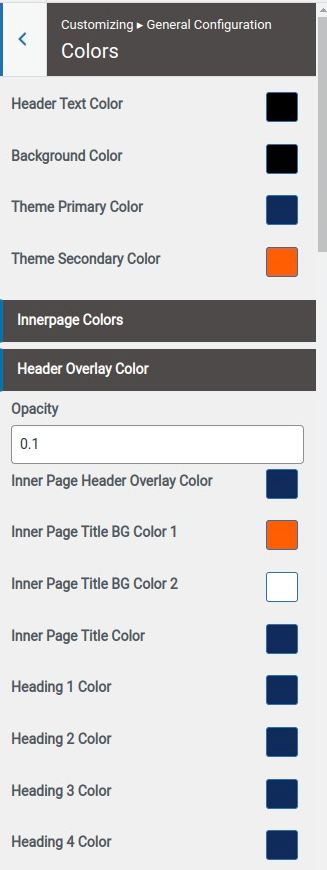
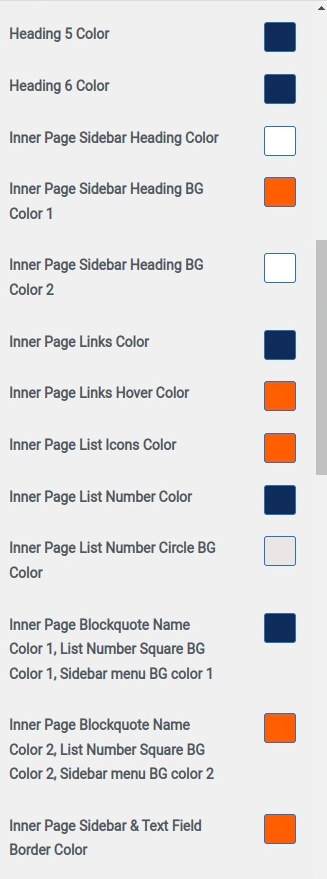
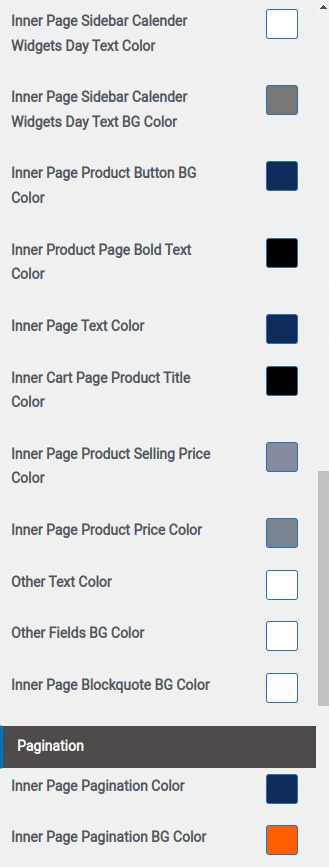
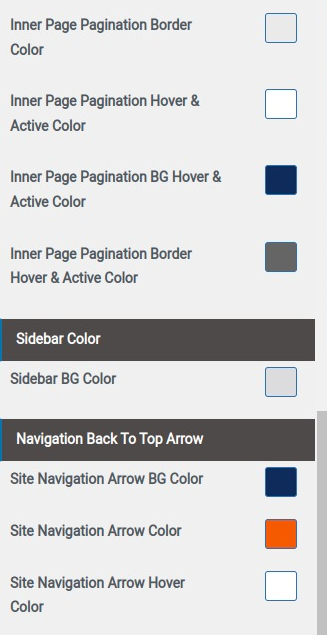
Set Inner Page Colors:
- Step1. Go to Dashboard >> Appearance >> Customizer >> General configuration >> Colors
Blog
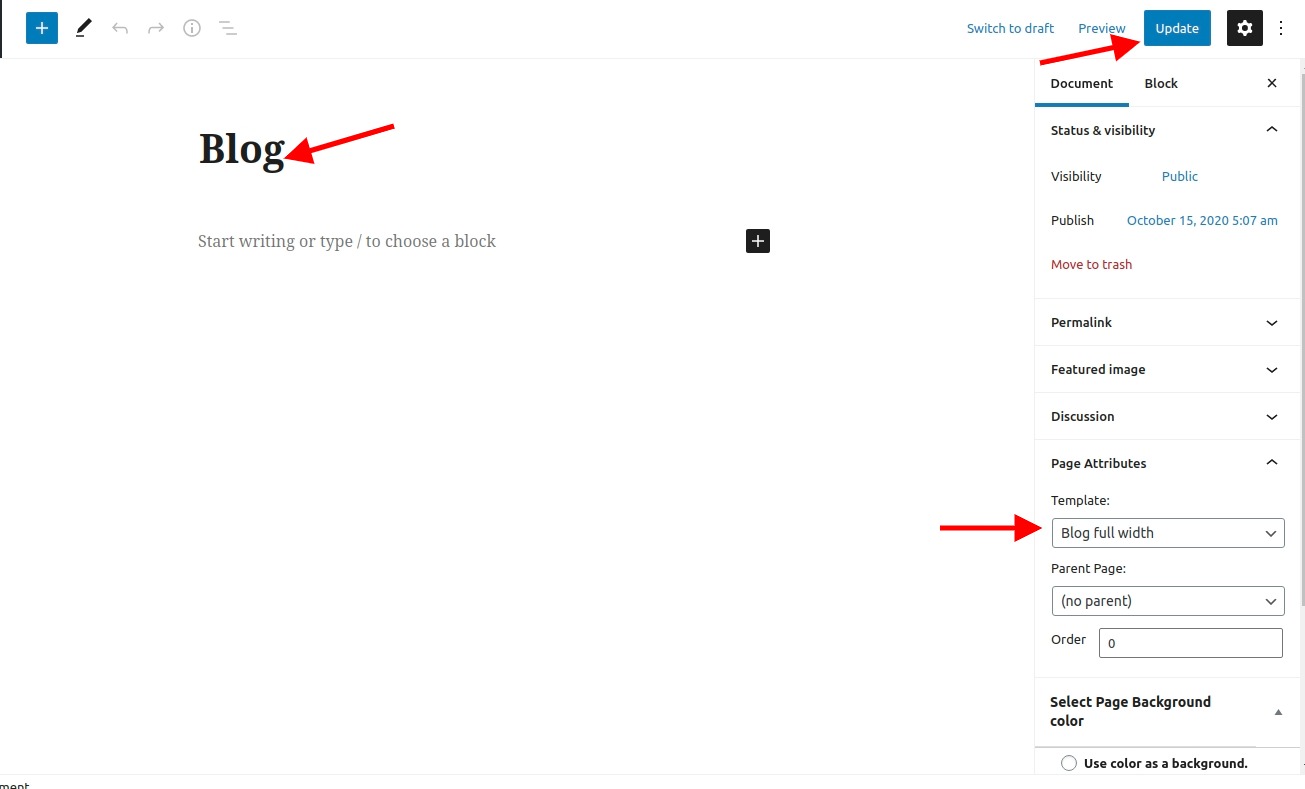
Setting Up Blog Full Width
- Step 1. Go to Dashboard >> Page
- Step 2. Click Add New button
- Step 3. Select Blog Full Width template at right bottom of page
- Step 4. Click publish button
Blog Full Width Inner Page

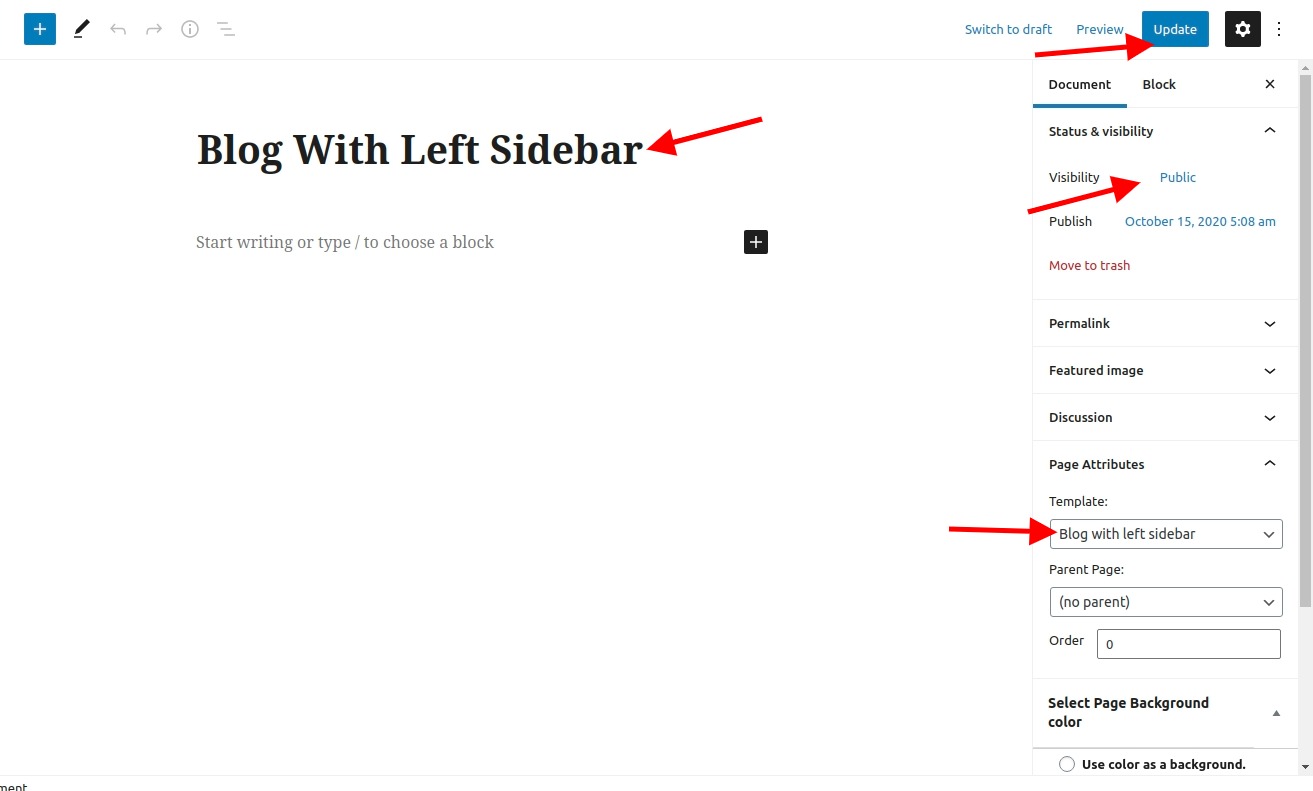
Setting Blog With Left Sidebar
- Step 1. Go to Dashboard >> Page
- Step 2. ClickAdd New button
- Step 3. Select Blog With Left Sidebar template at right bottom of page
- Step 4. Click publish button
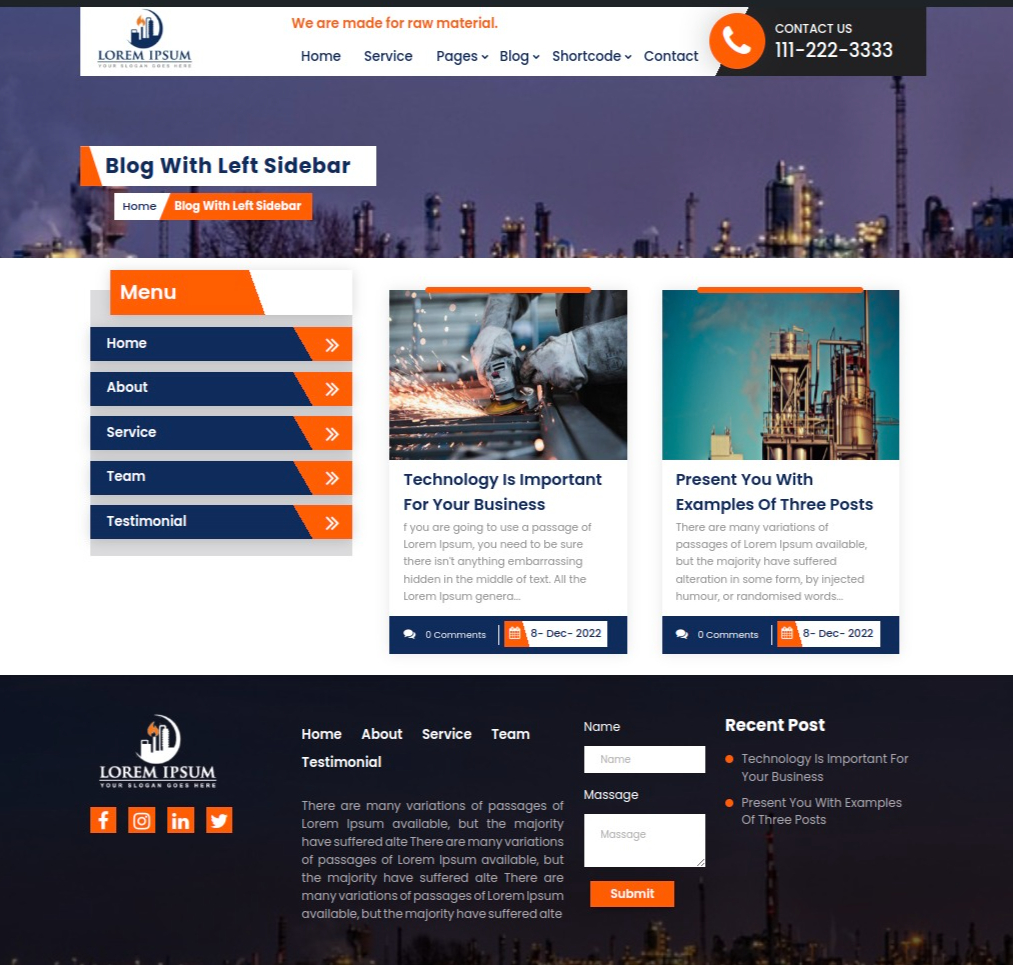
Blog With Left Sidebar Inner Page
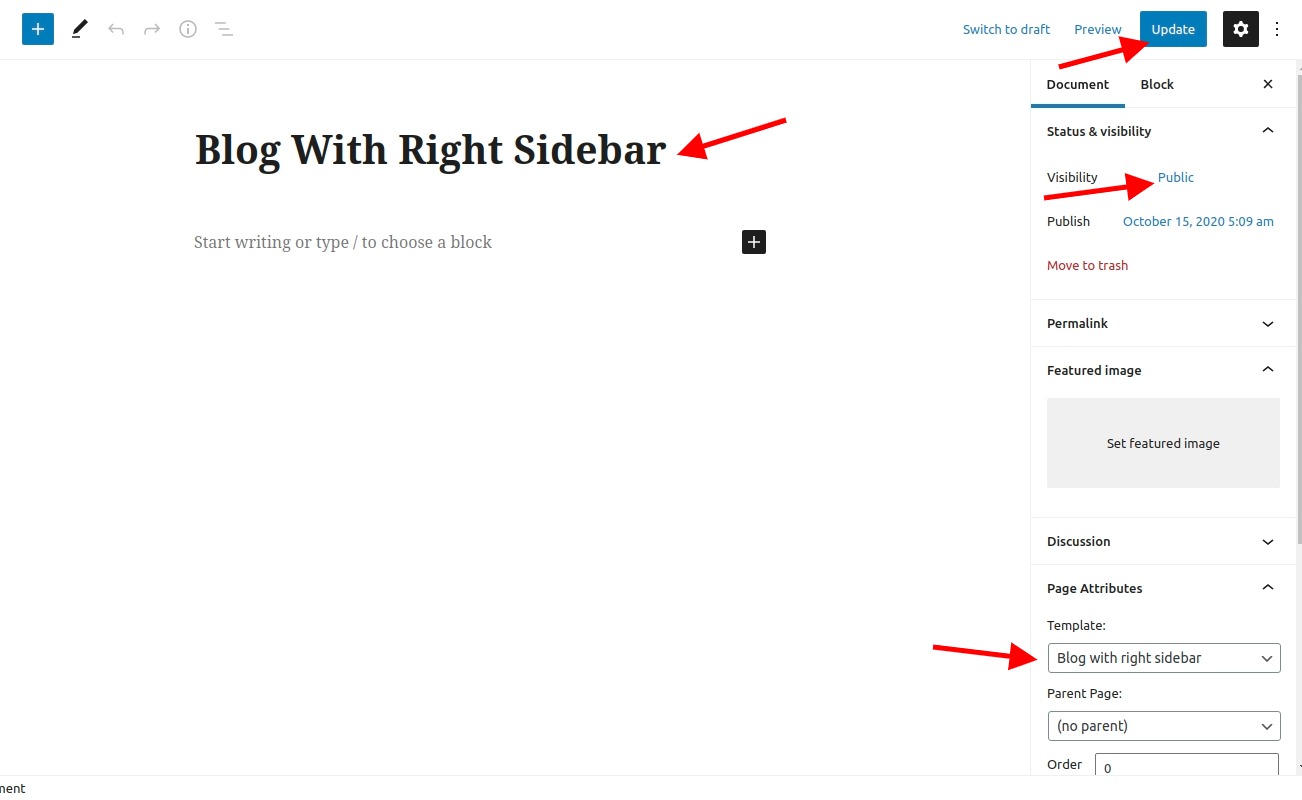
Setting Blog With Right Sidebar
- Step 1. Go to Dashboard >> Page
- Step 2. ClickAdd New button
- Step 3. Select Blog With Right Sidebar template at right bottom of page
- Step 4. Click publish button
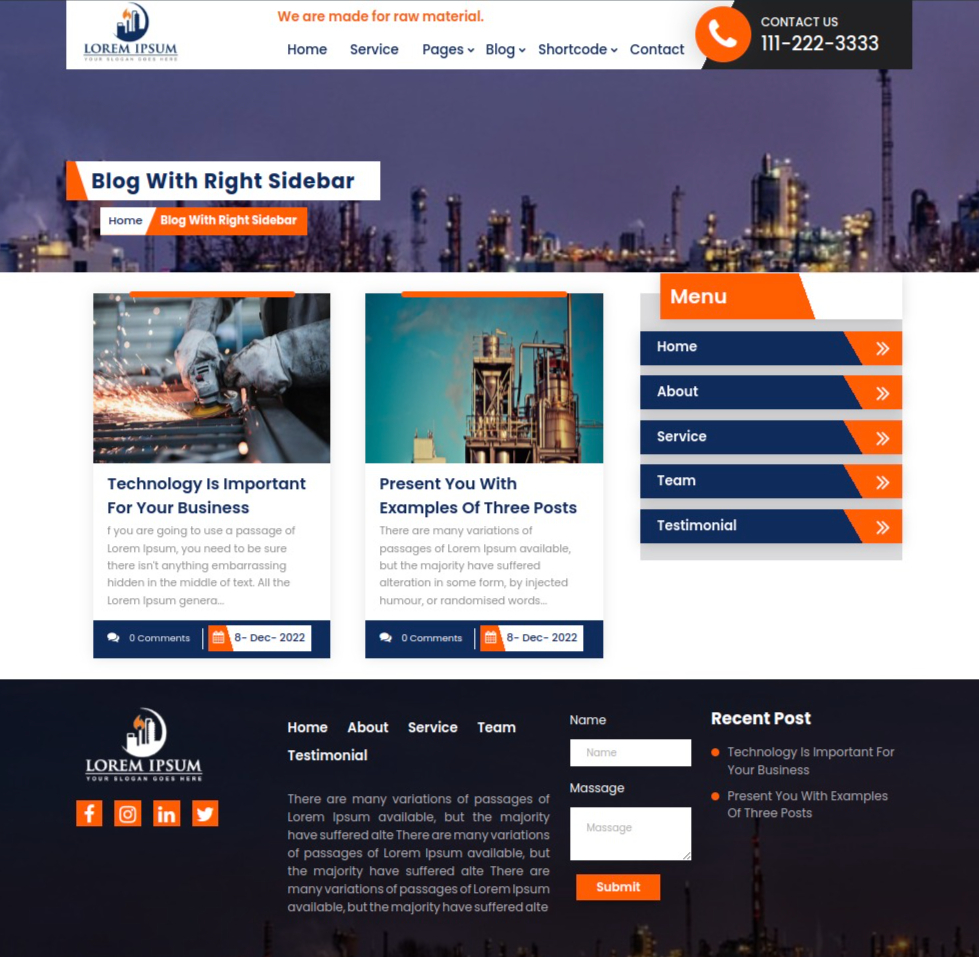
Blog With Right Sidebar Inner Page
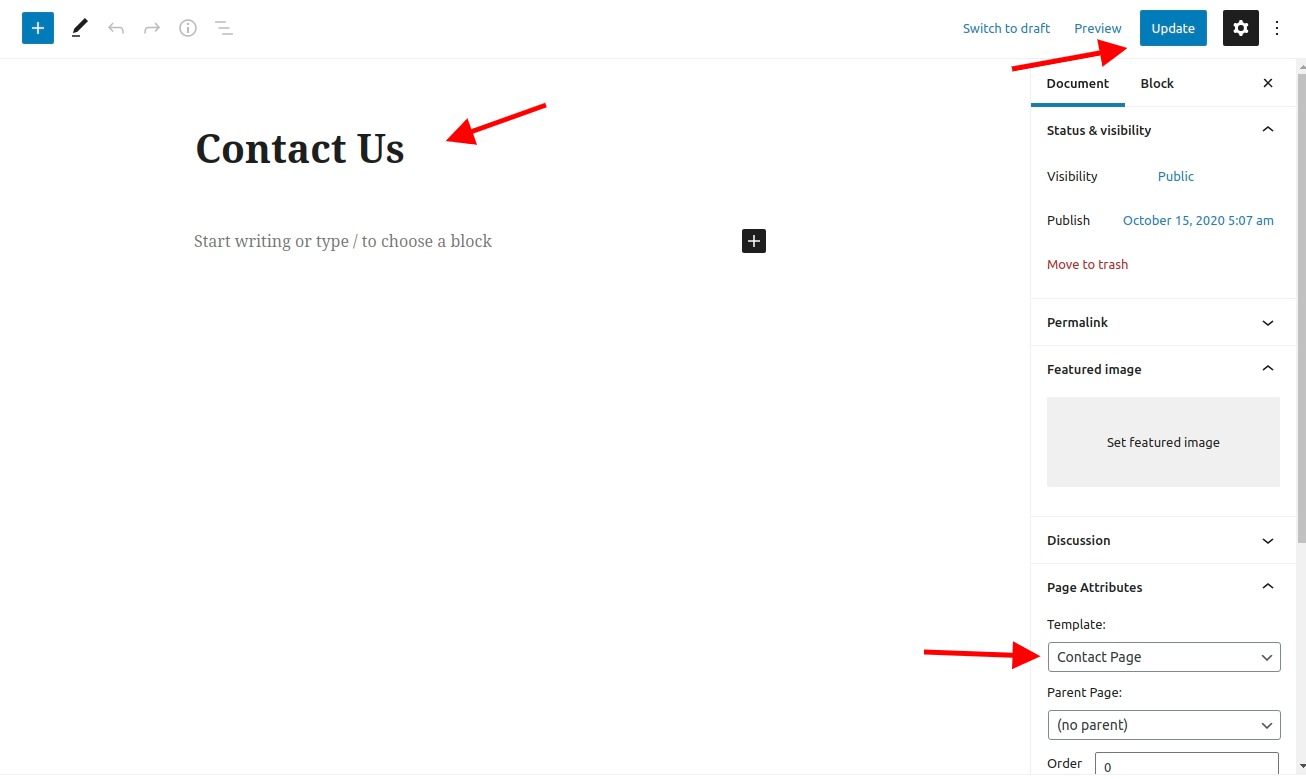
Contact Us
- Step 1. Go to Dashboard >> Page
- Step 2. Click Add New button
- Step 3. Select Contact Page template at right bottom of page
- Step 4. Click publish button
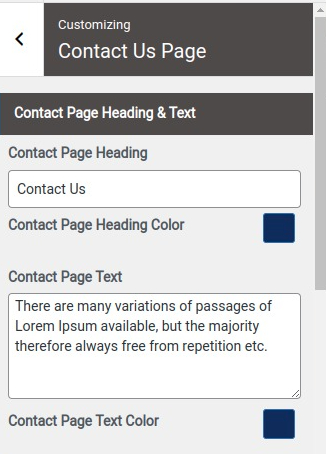
- Step 5. Go to Dashboard >> Appearance >> Customize >> Contact Us Page
- (a) Add Contact Page Heading & Text
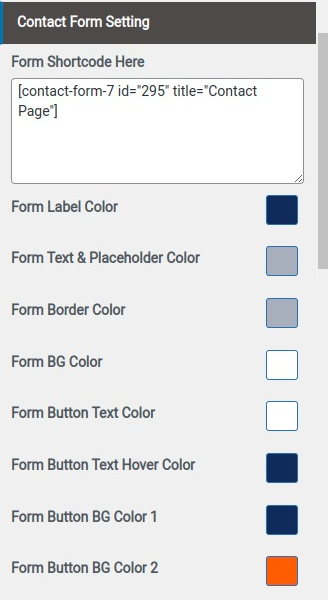
- (b) Add Contact Form Shortcode
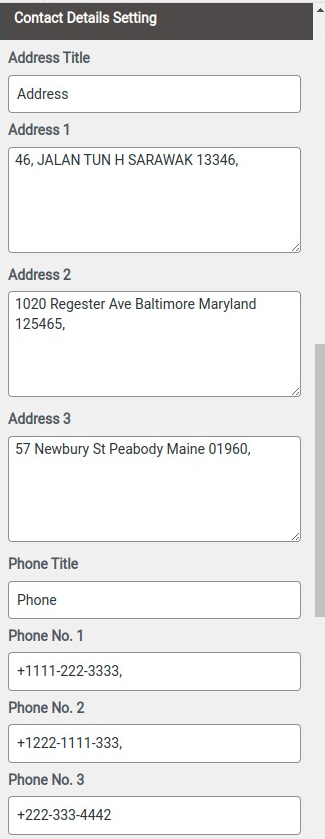
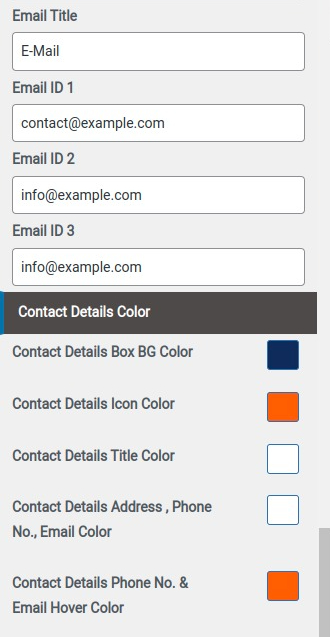
- Step 6. fill Contact details
- (1) Add Address Title
- (2) Add Address
- (3) Add Phone Title
- (4) Add Phone No.
- (5) Add Email Title
- (6) Add Email ID
- (7) Select Colors
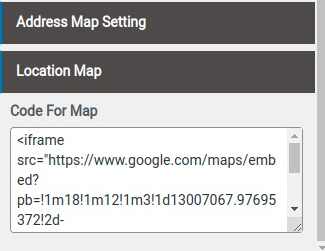
- (8) Add Location Map code
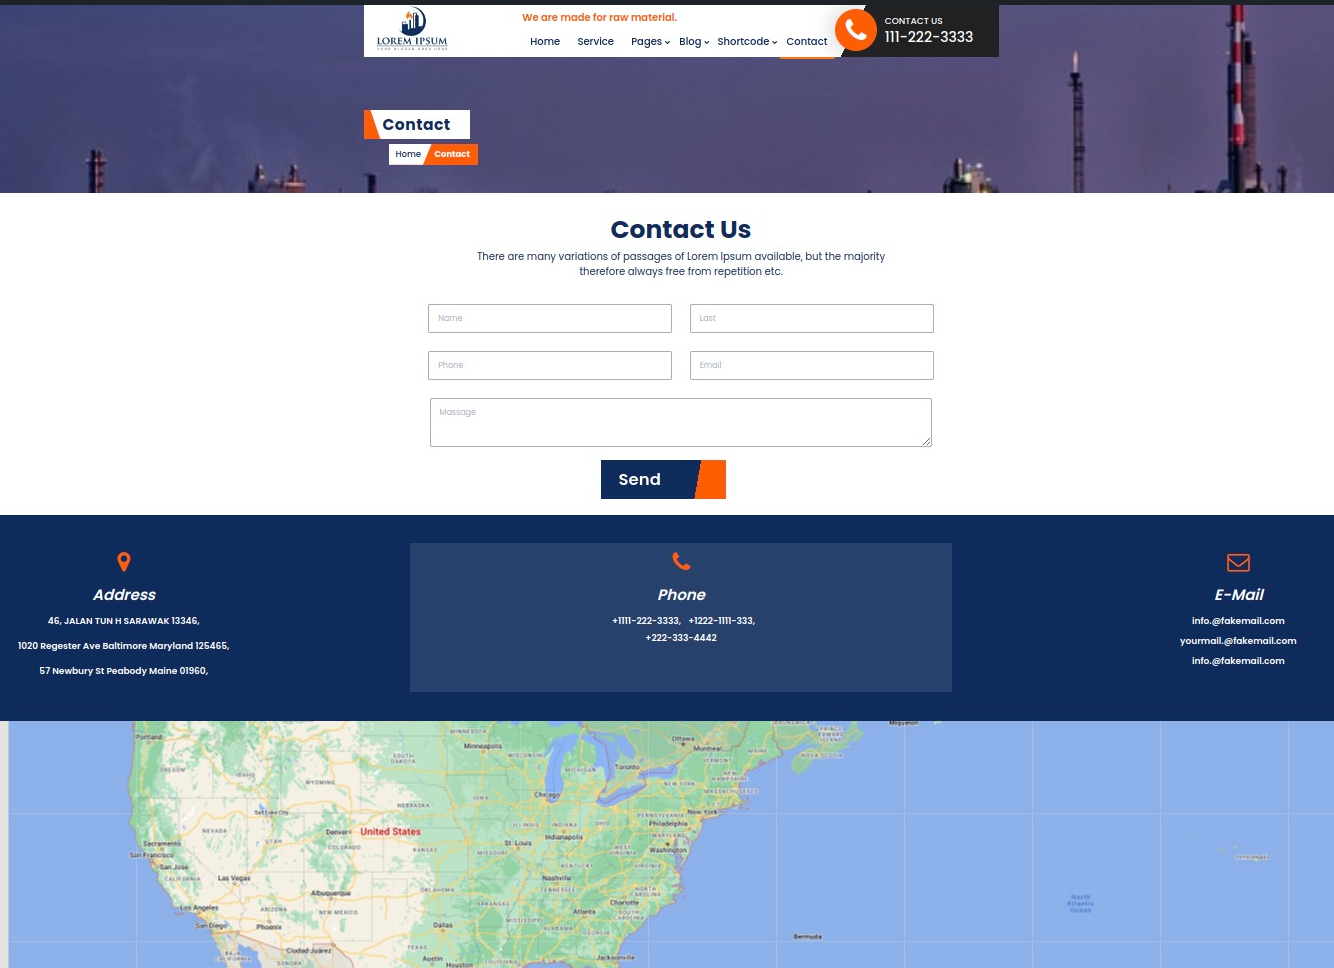
Contact Us Inner Page
Shortcodes
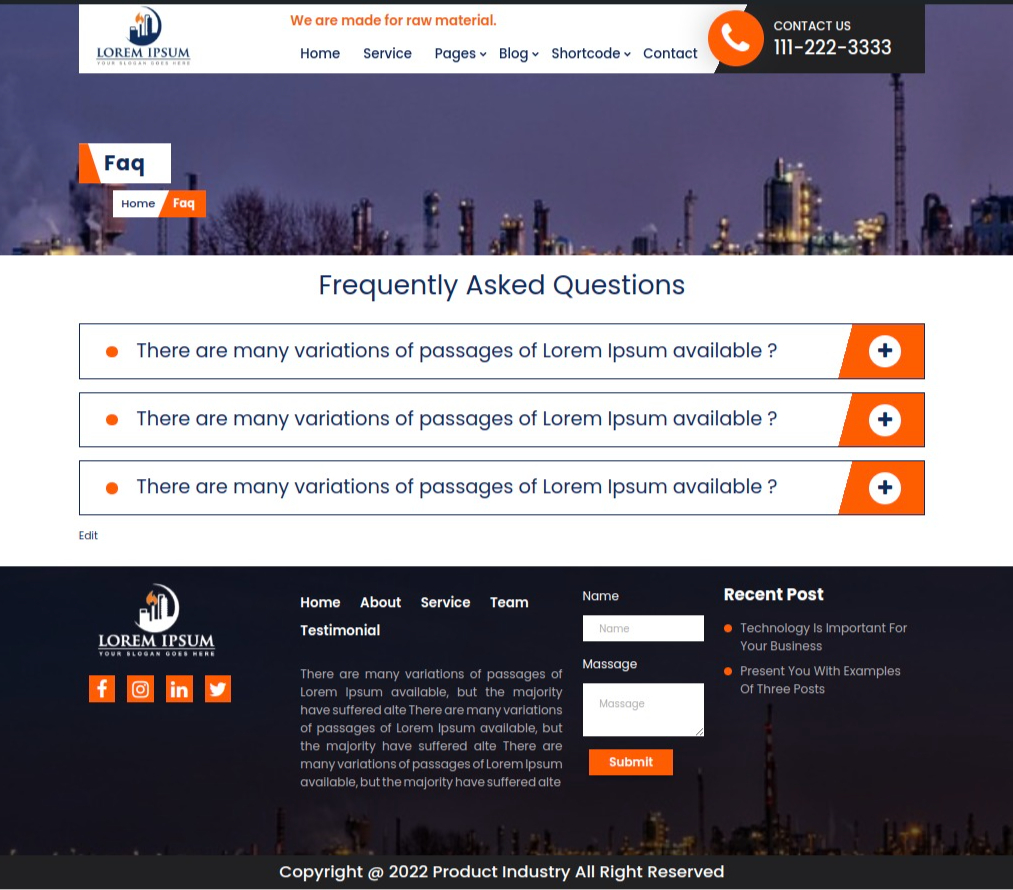
Setting up FAQ'S Shortcode
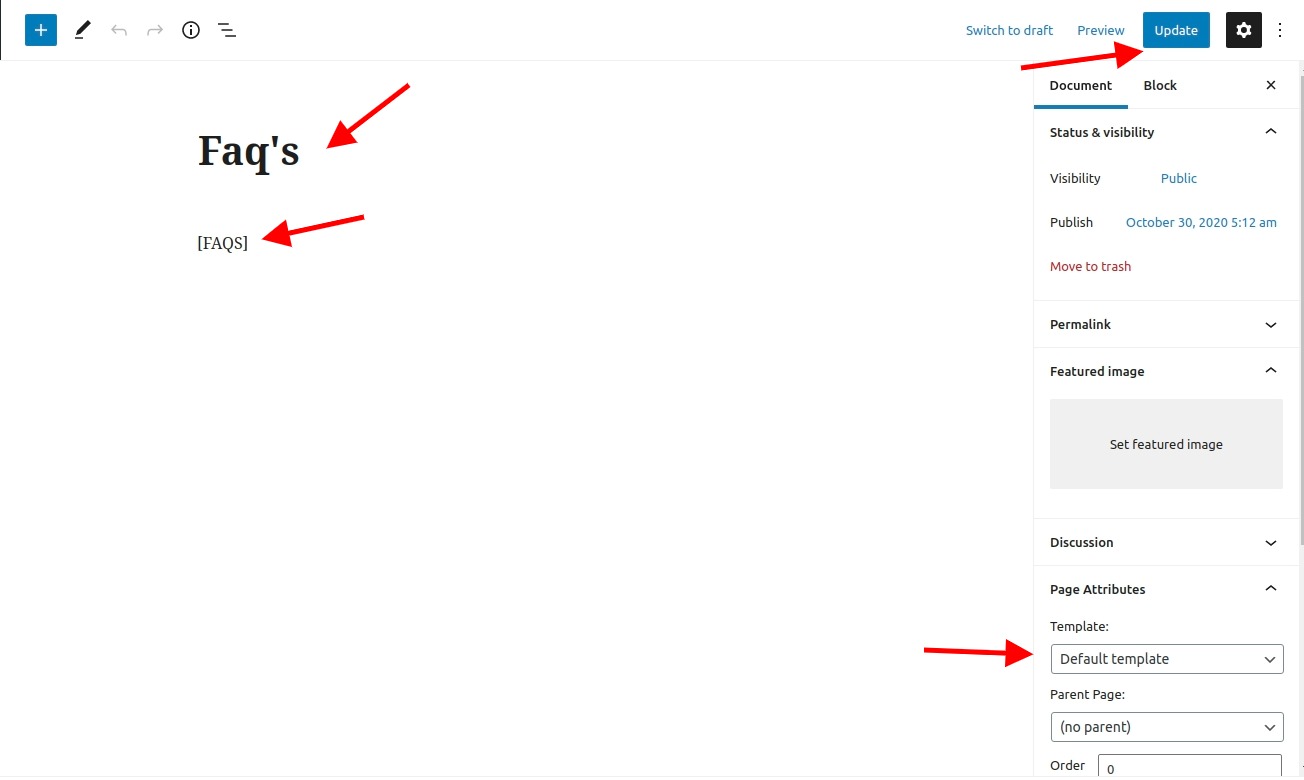
- Step 1. Go to Dashboard >> Page
- (i) Click Add New button
- (ii) Add FAQ'S Shortcode "[FAQS]"
- (iii) Select Default template
- (iv) click publish button
- Step 2. Used FAQ shortcode in page
After adding shortcode FAQ'S look
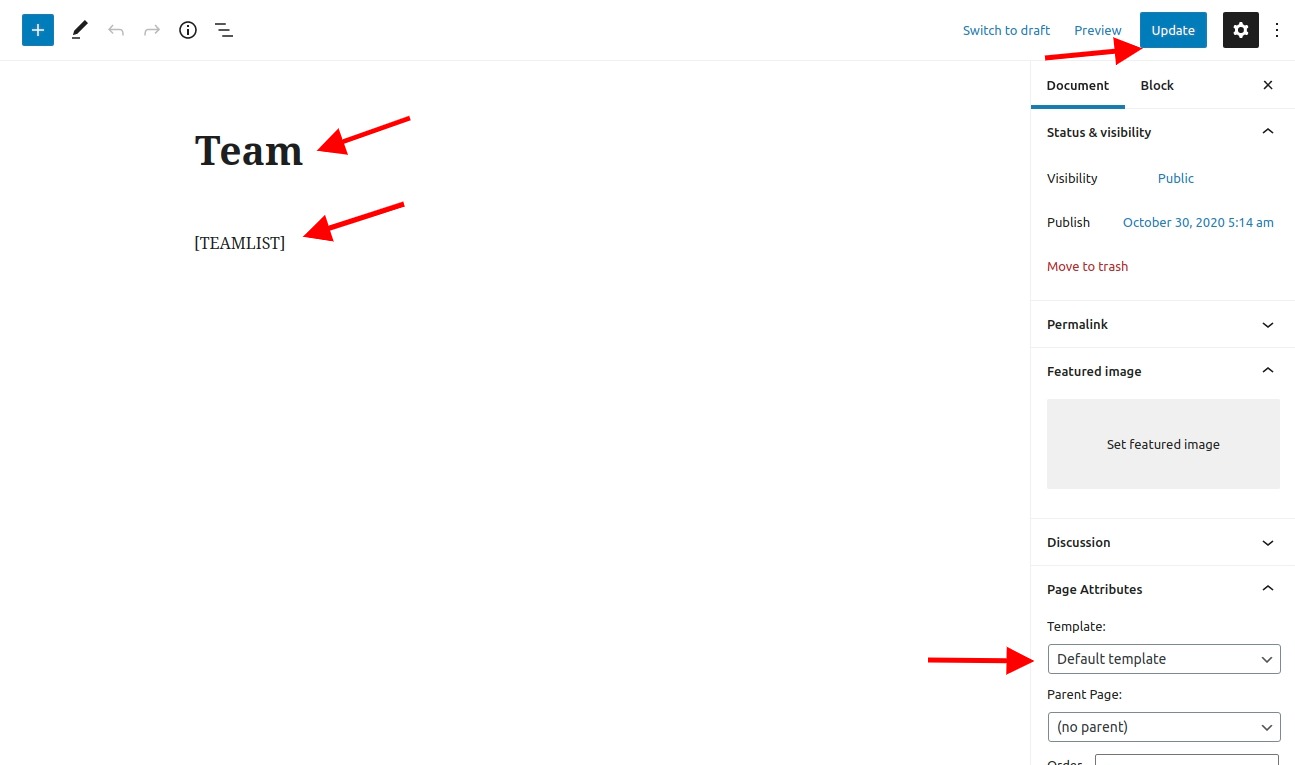
Setting up Team Shortcode
- Step 1. Go to Dashboard >> Page
- (i) Click Add New button
- (ii) Add Team Shortcode "[TEAMLIST]"
- (iii) Select Default template at right bottom of page
- (iv) Click publish button
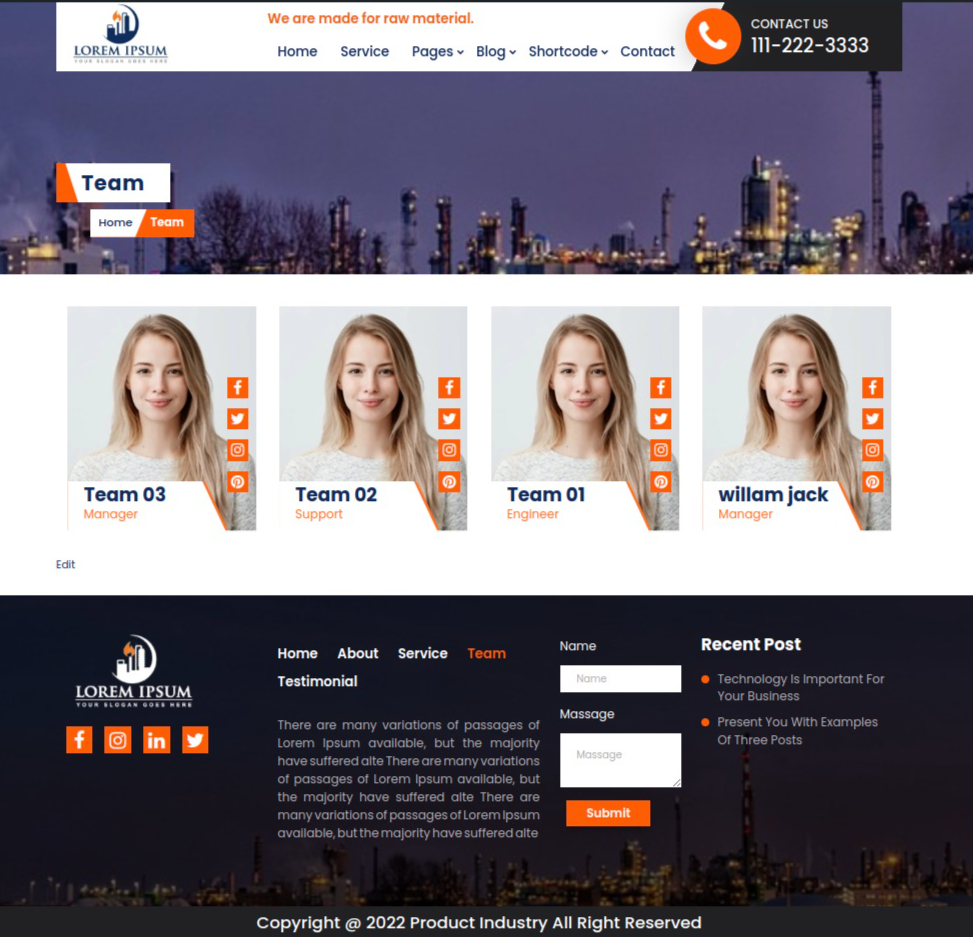
- Step 2. Used Team shortcode in page
- Step 3. Go to Dashboard >> Teams >> Add New
- 1. Add Member Name
- 2. Add Social Media Links
- 3. Add Designation
- 4. Set Featured Image
- 5. Click On Publish Button
After adding shortcode Team look
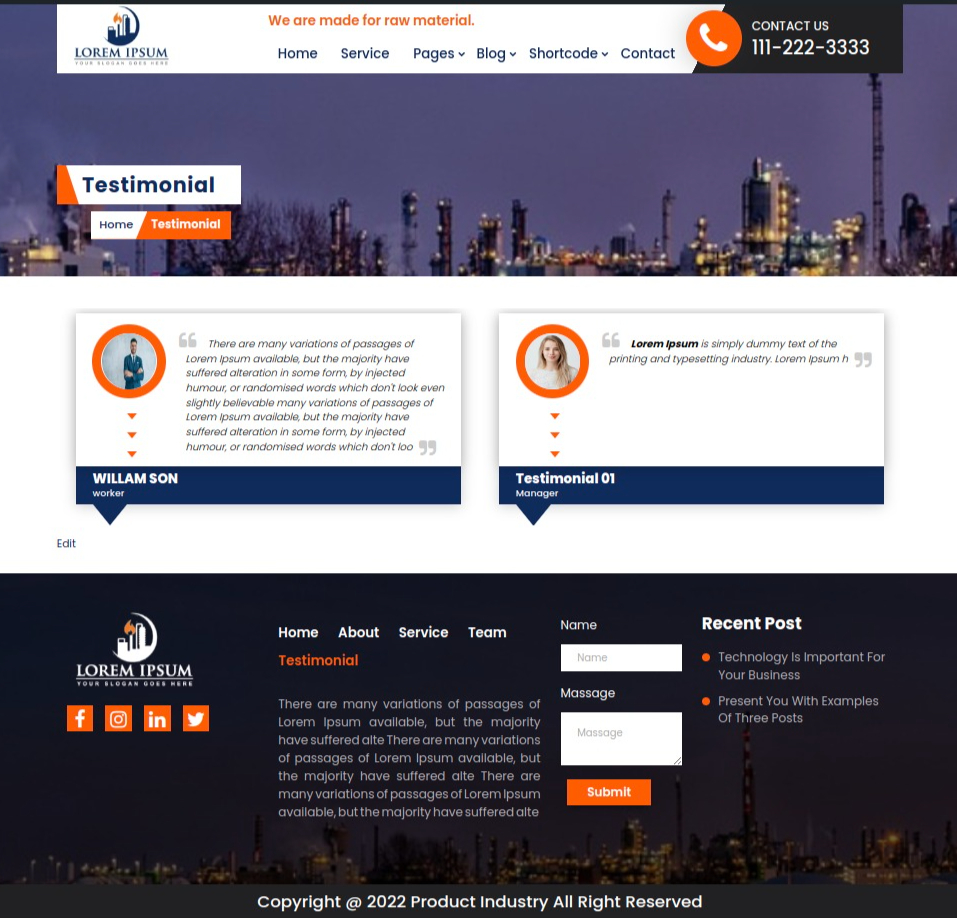
Setting up Testimonial Shortcode
- Step 1. Go to Dashboard >> Page
- (i) Click Add New button
- (ii) Add Testimonial Shortcode "[TESTIMONIALS]"
- (iii) Select Default template at right bottom of page
- (iv) click publish button
- Step 2. Used Testimonial shortcode in page
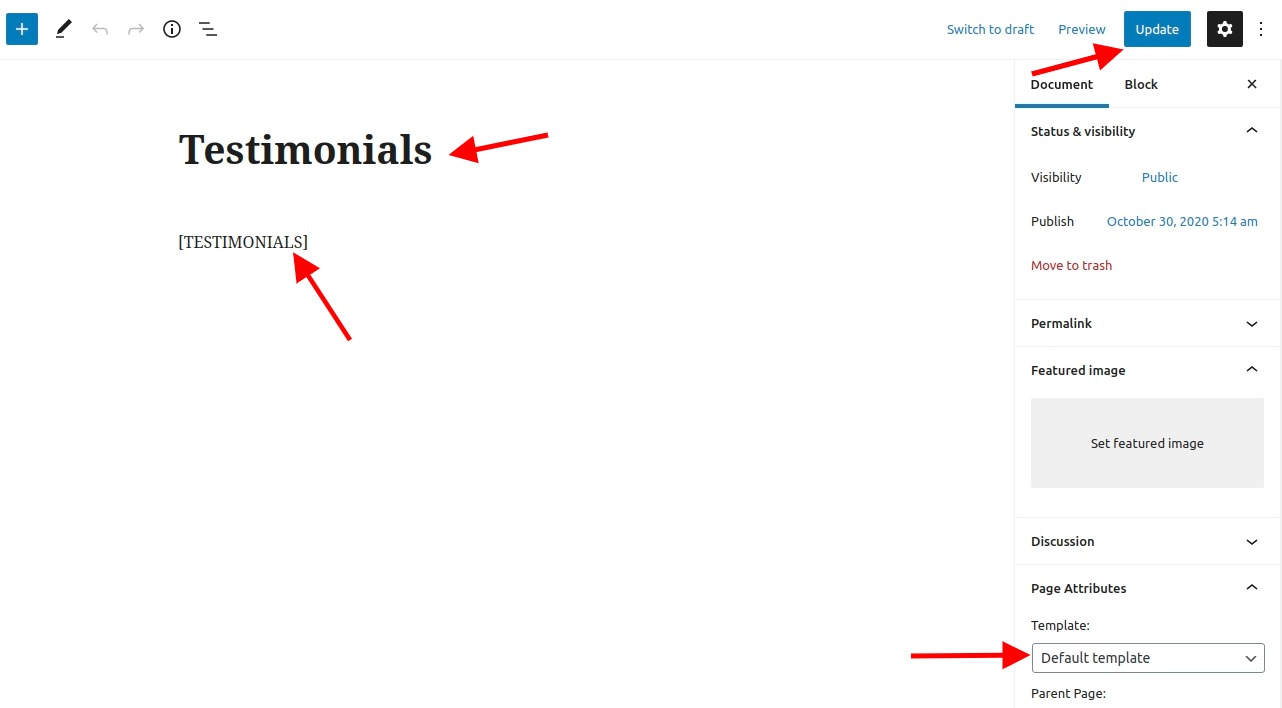
After adding shortcode Testimonial look
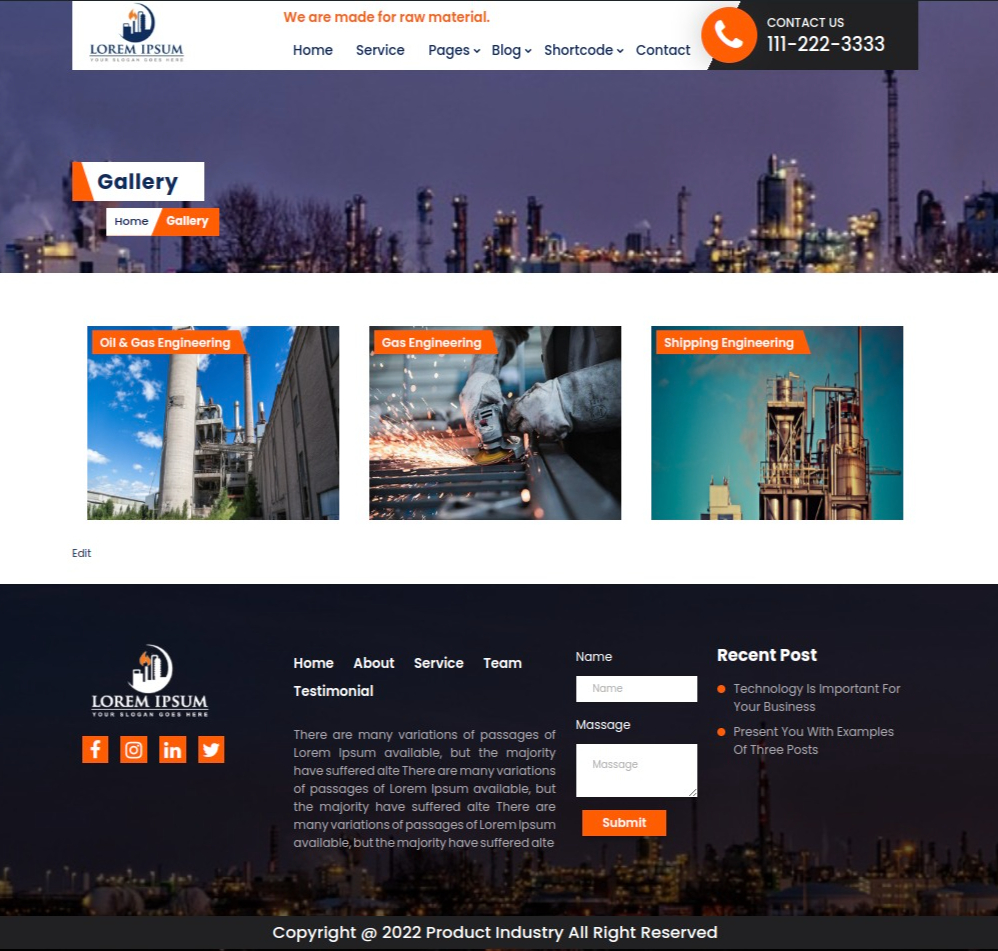
Setting up Gallery Shortcode
- Step 1. Go to Dashboard >> Page
- (i) Click Add New button
- (ii) Add Gallery Shortcode "[GALLERY]"
- (iii) Select Default template at right bottom of page
- (iv) Click publish button
- Step 2. Used Gallery shortcode in page

After adding shortcode Gallery look
On Click Of Gallery Image, Gallery look

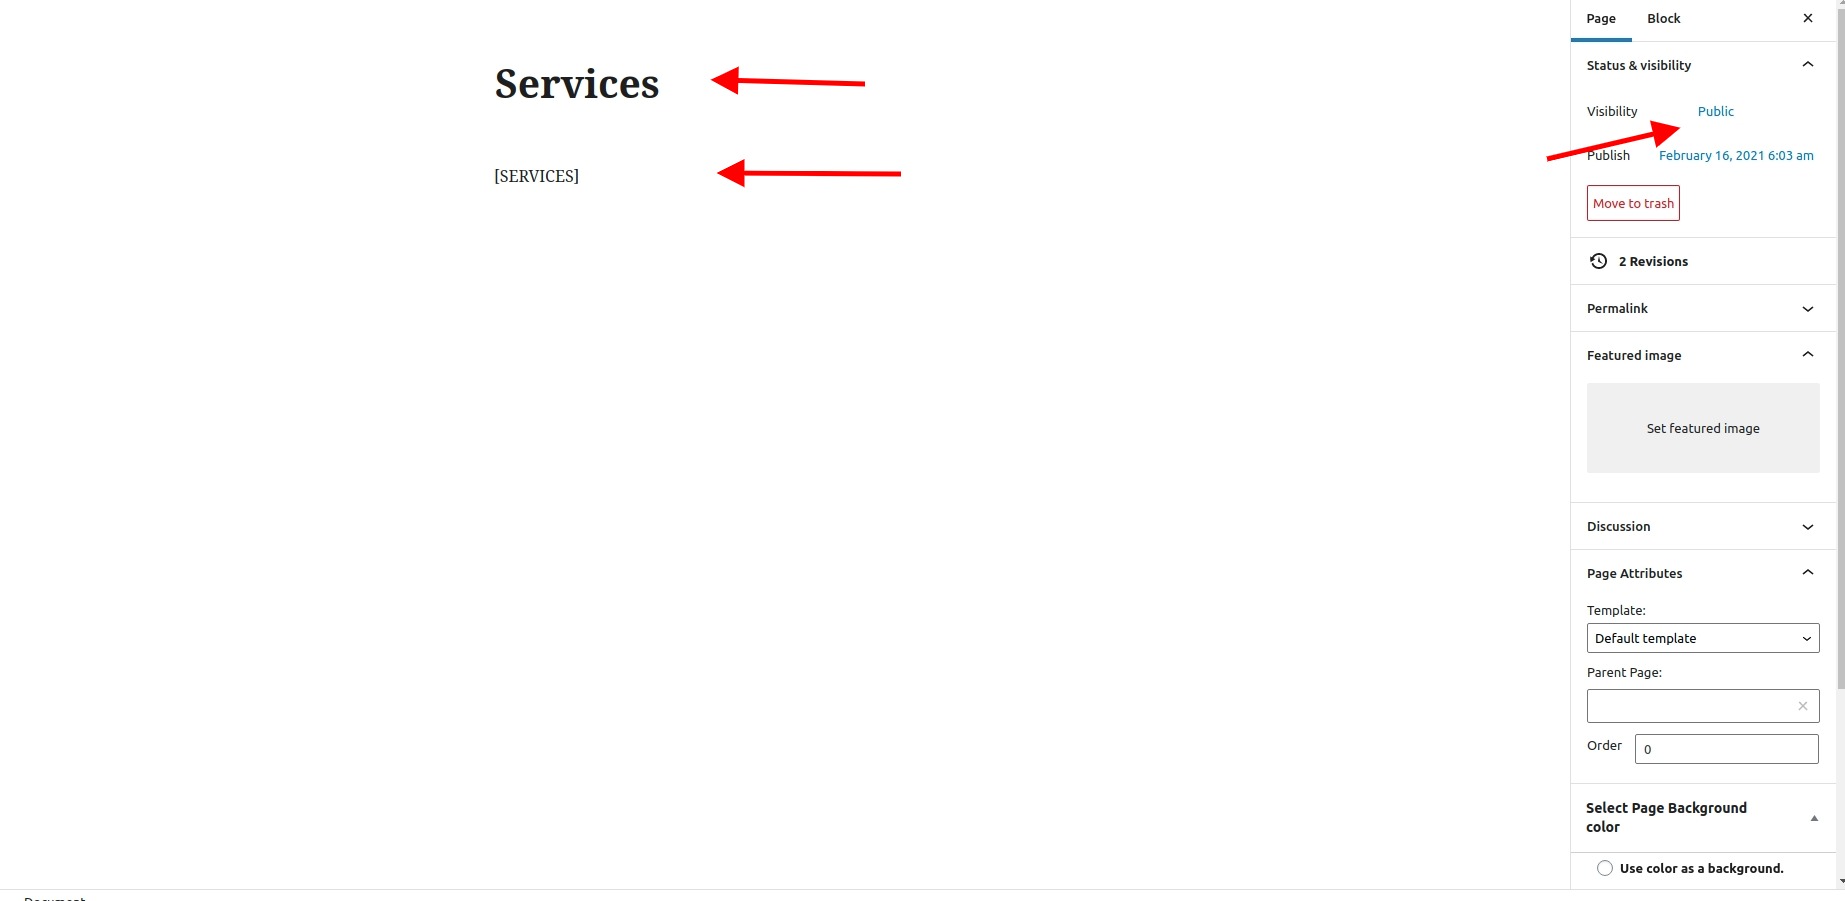
Setting up services Shortcode
- Step 1. Go to Dashboard >> Page
- (i) Click Add New button
- (ii) Add services Shortcode "[SERVICES]"
- (iii) Select Default template at right bottom of page
- (iv) click publish button
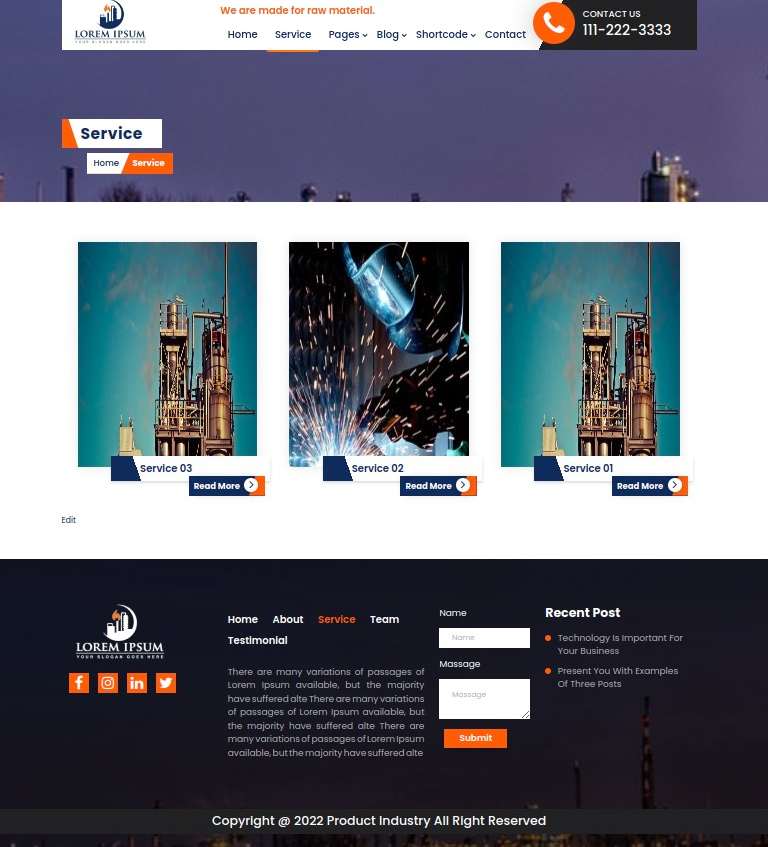
- Step 2. Used services shortcode in page
After adding shortcode services look
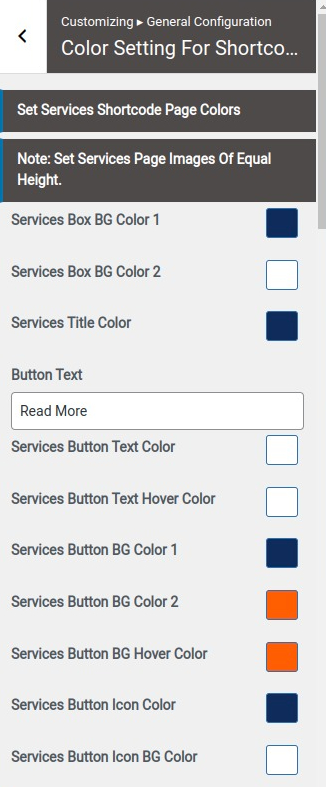
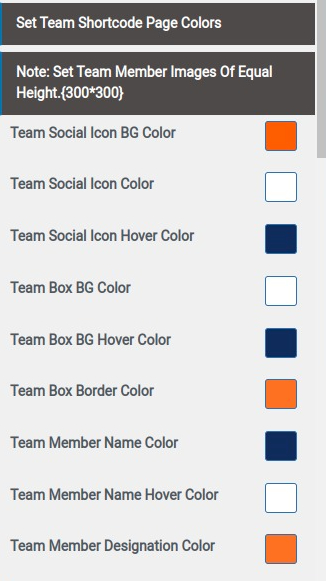
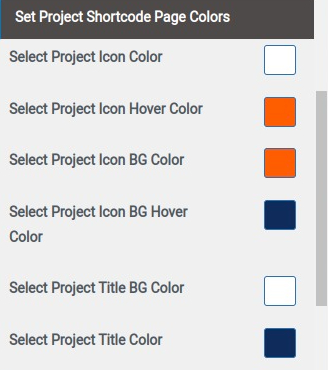
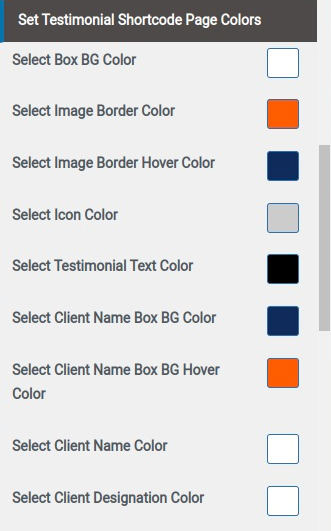
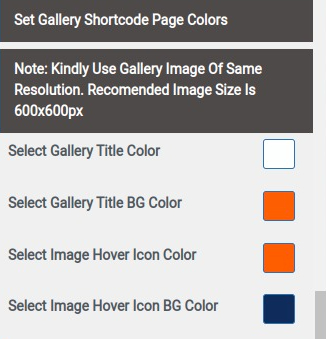
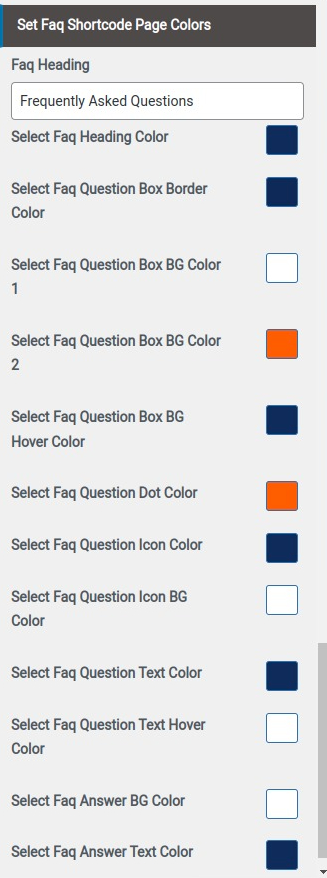
Set all Shortcode Page Colors
- Step1. Go to Dashboard >> Appearance >> Customizer >> General configuration >> Color Setting for shortcode pages